If you’re like me, canning tomatoes for year-round enjoyment of their rich, homegrown taste is a must. This preservation method captures the essence of summer to be enjoyed in the heart of winter. Whether you’re a seasoned canner or just starting, this guide will walk you through both pressure canning and water bath canning to ensure you safely enjoy high-quality canned tomatoes.

I originally shared this article in 2022. I’m updating it today to answer more of your questions and share more helpful information for your success.
In This Post
Basics of Canning Tomatoes
Canning tomatoes at home is a great way to preserve their delicious flavor and nutritional value for later use. The two most common methods are pressure canning and water bath canning. Pressure canning is my recommended method for preserving tomatoes because it results in a higher-quality product. However, water bath canning is still a safe option, especially if you are at a lower altitude.
Before getting started, it’s important to understand the safety concerns associated with canning tomatoes. Botulism is a deadly form of food poisoning that can be caused by improperly processed foods. It is rare but serious, so it is important to follow all instructions and take the necessary precautions when canning tomatoes.
When selecting tomatoes for canning, your choice significantly affects the outcome of your preserves. Roma and San Marzano tomatoes are among the best choices for canning due to their dense, meaty texture and relatively low water content. Additionally, these varieties tend to have fewer seeds and firmer flesh, which helps maintain structure and consistency in your canned goods. However, I have canned every variety we’ve ever grown with great success.

Essential Equipment for Canning Tomatoes
The equipment and supplies needed for canning tomatoes are basic to every canning process.
- Pressure canner or water bath canner depending on the method you want to use.
- If you don’t have a water bath canner, you can use a large pot deep enough to cover the jars with one to two inches of water. Place a folded kitchen towel or a metal rack in the bottom of the pot so that the jars don’t rest directly on it.
- Jar lifter to safely place jars into and take them out of the boiling water.
- Jar funnel to make filling the jars easier and cleaner. You’ll want a funnel to fit the mouth of the jars you are using, either standard or wide mouth. I use only wide-mouth canning jars.
- Lid wand or tongs – If you are using Tattler lids or older metal lids, you will need a can lid wand or tongs to lift the lids out of the warm water. Although it isn’t necessary to heat the lids if you are using newer types of metal lids, old habits die hard, and I still let them rest in hot water.
- Thin spatula – I use a bamboo one – to remove air bubbles from the jars once they are filled prior to processing. Do not use metal utensils! Metal cutlery or spoon handles may scratch the glass, and I think they leave a metallic taste in the tomatoes.
- Large pot or I use my sink filled with ice and water to cool tomatoes after blanching to remove skins easily. You’ll also use it for heating tomatoes if you use the hot pack method and for blanching them to remove skins.
- Canning jars – All jars must be clean. You should also look for any damage, especially nicks or jagged jar rims, that might cause sealing problems.
- Lids and rings for all jars. The rings hold the lids in place during processing. Once the jars have cooled, I remove the rings from all my sealed jars. This isn’t necessary it’s just a preference.
- Ladle to fill jars.
- Sharp knife to prepare tomatoes for canning. I find a serrated knife works best.
- Towel or heat proof surface to place the processed on while they cool and seal. Use a towel that you don’t mind losing to tomato stains.

Filling Your Jars When Canning Tomatoes
- Tomatoes—You will need 2 1/2 to 3 1/2 pounds of tomatoes for every quart and 1.5 pounds for every pint.
- Fairchild’s Apple Cider Vinegar, Lemon Juice, or Citric Acid Powder –
- I use Fairchild’s Apple Cider Vinegar because it has the highest acidity level I’ve found at 6% acidity, making it perfect for canning tomatoes. Use 2 teaspoons for Pint jars and 1 1/2 Tablespoons for quart jars.
- For safety, you must use bottled lemon juice instead of fresh squeezed because bottled juice has standardized acidity. Place one tablespoon of bottled lemon juice in each pint jar and two tablespoons in each quart jar.
- Alternatively, use 1/2 teaspoon citric acid powder per quart and 1/4 teaspoon per pint. Because citric acid is usually made from corn, I use one that is GMO-free and made by a reputable company. Citric acid does not taste as strong as lemon juice, so more people prefer it.
- Water bath canning requires a pH of 4.6 or below for safe results. Tomatoes’ acidity is borderline, so adding acid ensures safety when canning tomatoes using this method.
- Real Salt (optional): I add salt to my tomatoes, 1 teaspoon per quart and 1/2 teaspoon per pint.

Canning Methods: Raw Pack vs. Hot Pack
There are two main methods for canning tomatoes: raw pack and hot pack. In the hot pack method, tomatoes are heated to a boil and simmered for five minutes before being packed into jars. This softens the tomatoes and can enhance both the flavor and the safety of your canned goods.
The raw pack method, on the other hand, involves packing raw, peeled tomatoes directly into jars and covering them with hot water or their own juice, making sure to eliminate any air spaces. This method is popular for its simplicity and for preserving the tomatoes’ fresh taste and firm texture.
The method you choose is totally up to you. I learned the hot pack method and used it for years. Now, I use the raw pack method because it saves some time, and that’s one less burner I have to use for gas and heating the kitchen.
Canning Tomatoes Using Their Own Juice
When canning tomatoes using their own juices, the goal is to capture and preserve the fresh flavor and texture of your homegrown tomatoes. Here’s a handy tip: while preparing your tomatoes—peeling and cutting them—do it over a large bowl to catch any escaping juice. This extra juice can be used to top off the jars if needed after packing.
Once you’ve packed the tomatoes tightly into your sterilized jars, gently press down on them with a clean wooden spoon or even your fingers as you fill the jars. This helps release their natural juices, which is key to this method.
Continue to press and pack the tomatoes until their juices rise enough to cover them, leaving about half an inch of headspace at the top of each jar. This step is crucial because it ensures that the tomatoes are completely submerged in their own flavorful juices, eliminating the need for added water and maintaining the integrity of their taste.
Using this method not only brings out the best in your tomatoes but also keeps them tasting garden-fresh long after the season is over. It’s a great way to make the most out of your harvest and enjoy your tomatoes in their purest form.
Preparing Tomatoes For Canning
Now that you’ve gathered all of your supplies and decided on a method, it’s time to start prepping the tomatoes.
- Wash your hands thoroughly.
- Remove any bad spots or bruises from the tomatoes with a sharp knife.
- If you are using the hot pack method, core the tomatoes as you cut them into quarters or halves. Place the tomatoes in a large stockpot and heat until they reach boiling temperature. Remove from heat and follow the directions below to remove the peels.
- If you are using the raw pack method, skip to blanching the tomatoes below.

Blanching Tomatoes to Easily Remove the Skin
- Raw pack method: Fill a large pot with enough water to cover the tomatoes once they’re in it.
- Bring the water to a boil then add the tomatoes.
- Leave them in the boiling water for one minute or until the skins begin to split.
- Quickly remove them and place them in an ice-water bath. The skins will split and slip right off.
- Use a knife to scrape off any remaining skins.
- Hot pack method – After you have followed step 3 of preparing the tomatoes, pour them into a large colander placed in the sink.
- Rinse with cold water, then pour boiling water over the tomatoes.
- Let them sit in the boiling water for 30 seconds, then remove them and place them in an ice bath.
- Use a knife to scrape off any remaining skins.
- Return the tomatoes to the large pot and bring to a boil for 5 minutes. They should make enough juice to cover the tomatoes once you put them in the jars.
- If you have to add more water to the jars to cover them, use boiling water.
- Keep them at a simmer while you are working.

Freezing Tomatoes Before Canning
I like to freeze my tomatoes and wait until the weather cools off before I can them. I do this for a few reasons:
- It avoids heating up the kitchen in the summer
- It’s a good way to can all of them at once
- It makes removing the peeling easy. Freeze them whole or cut them in half. Place them in gallon-size freezer bags.
- When they thaw out, the skin slips right off. No blanching is required.
How to Can Tomatoes: Step By Step
For both pressure canning and water bath canning, follow steps 1 – 12 below.
- Wash all of your jars. If you warm your lids, now’s the time. Some people use hot soapy water and then rinse well in hot water. I prefer to boil a pot of water and pour it over my jars and lids a couple of times.
- Keep your jars warm. You can do this in the dishwasher, in the oven at low heat (200F), or in simmering water.
- If your canner has a lift basket in it, elevate it by hanging it on the side of the canner as instructed.
- Fill Jars with tomatoes and liquid according to the method you chose.
- Add Fairchild’s ACV, bottled lemon juice, or citric acid to the jar as instructed above.
- Ladle the hot or raw packed tomatoes filling each jar to 1/2″ from the top.
- You can add salt to the tomatoes if you choose to; I do. Do not stir the jars.
- Gently run a spatula down the sides of the jars to remove any air pockets.
- Adjust the liquid so there is only a 1/2″ headspace.
- Wipe off the rim of each jar with a damp, clean towel. Then, place a lid and ring on each jar and hand-tighten them.
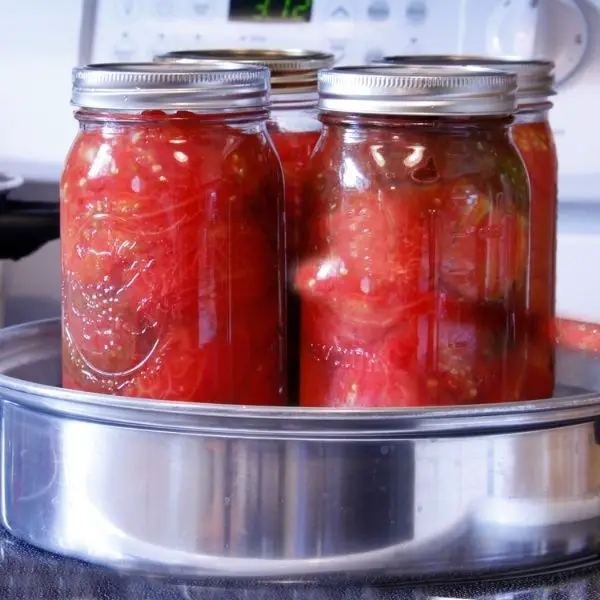
- When you fill a jar with tomatoes, put it on the elevated rack in the canner.
- When the rack is full or you run out of tomatoes, gently lower it into the water.
- Lower one jar at a time into the boiling water if you are using a stockpot.
- Make sure the jars are covered with 1-2 inches of water.

Boiling Bath Canning Method
- Follow Steps 1 – 12 above
- Put the lid on the canner and bring it to a boil. After the water reaches a rolling boil, lower the heat to maintain a medium-low boil and start timing. Use the altitude chart below for proper timing.
- When the processing time is done, turn off the stove and remove the canner lid. Let the canner cool for 5 minutes.
- Remove jars from the canner and place them on a towel or heat-proof surface to cool.
- Altitude adjustments for Water Bath Canning – Pints and Quarts are Processed the Same
| Altitude (feet) | Processing Time (minutes) |
|---|---|
| 0-1,000 | 85 |
| 1,001-3,000 | 90 |
| 3,001-6,000 | 95 |
| Above 6,000 | 100 |

Pressure Canning Tomatoes
- Follow steps 1 – 12 above for preparing to can tomatoes.
- Turn the stove on to high heat.
- Have the water in your pressure canner hot and place your filled jars in it.
- Put the lid on the canner but do not put the weight on.
- Watch for the steam to come out of the vent pipe in the lid as the water boils.
- Once the steam begins escaping, you should allow it to vent continuously for about 10 minutes. This venting process is crucial as it ensures that the air is purged from the canner, allowing it to pressurize properly once sealed.
- After the full 10 minutes, put the weight on the lid.
- Check the chart below to ensure you use the proper weight for your altitude.
- Once the weight is applied, the steam will stop, the vent will seal and the pressure will begin to build.
- When the pressure reaches the level required for your altitude, you will start your timer.
- Process for the full time required at the correct pressure.
- Adjust the heat to maintain a steady pressure according to the gauge on your pressure canner. This usually means reducing the heat slightly to keep it at the correct pressure. Keep an eye on it.
- When the processing time is finished, turn off the heat.
- Do Not remove weight until after the canner has cooled completely.
- Allow the canner to rest undisturbed until the pressure returns to zero. Do not try to hasten the cooling process in any way.
- After the pressure is returned to zero, remove the weight and wait another 5 minutes.
- Remove the lid and let out any remaining steam being careful to open the lid away from you to avoid steam burns on your face or hands.
- Lay the lid back on top of the canner leaving it slightly ajar and wait 5 minutes more.
- Remove the lid from the canner and use your jar lifter to carefully remove the hot jars from the pot.
- Place them on a towel or heat-proof surface to cool.
Altitude and Pressure Adjustments for Pressure Canning – Process pints or quarts for 25 minutes, adjusting for altitude.
- Altitude Adjustments for Dial Gauge Canner
| Altitude (feet) | Pressure (pounds) |
|---|---|
| 0-2,000 | 11 |
| 2,001-4,000 | 12 |
| 4,001-6,000 | 13 |
| 6,001-8,000 | 14 |
- Altitude Adjustments for Weighted GaugeCanner
| Altitude (feet) | Pressure (pounds) |
|---|---|
| 0-1,000 | 10 |
| 1,001-8,000 | 15 |

How do I know my lids are sealed?
You’ll hear that lovely “ping” as the jars begin to cool but it’s easy to know for certain which are sealed.
- To check the lids, gently press the middle of the lid.
- The center should be drawn tightly down without any flex.
- If the lid is loose, place the jar in the refrigerator and use it within 48 hours.
You can double-check the seal as you remove the rings. Once you remove the ring, gently try to lift the lid with your fingers. If it comes off or moves, then the seal is not good.
How to Store Canned Tomato Jars
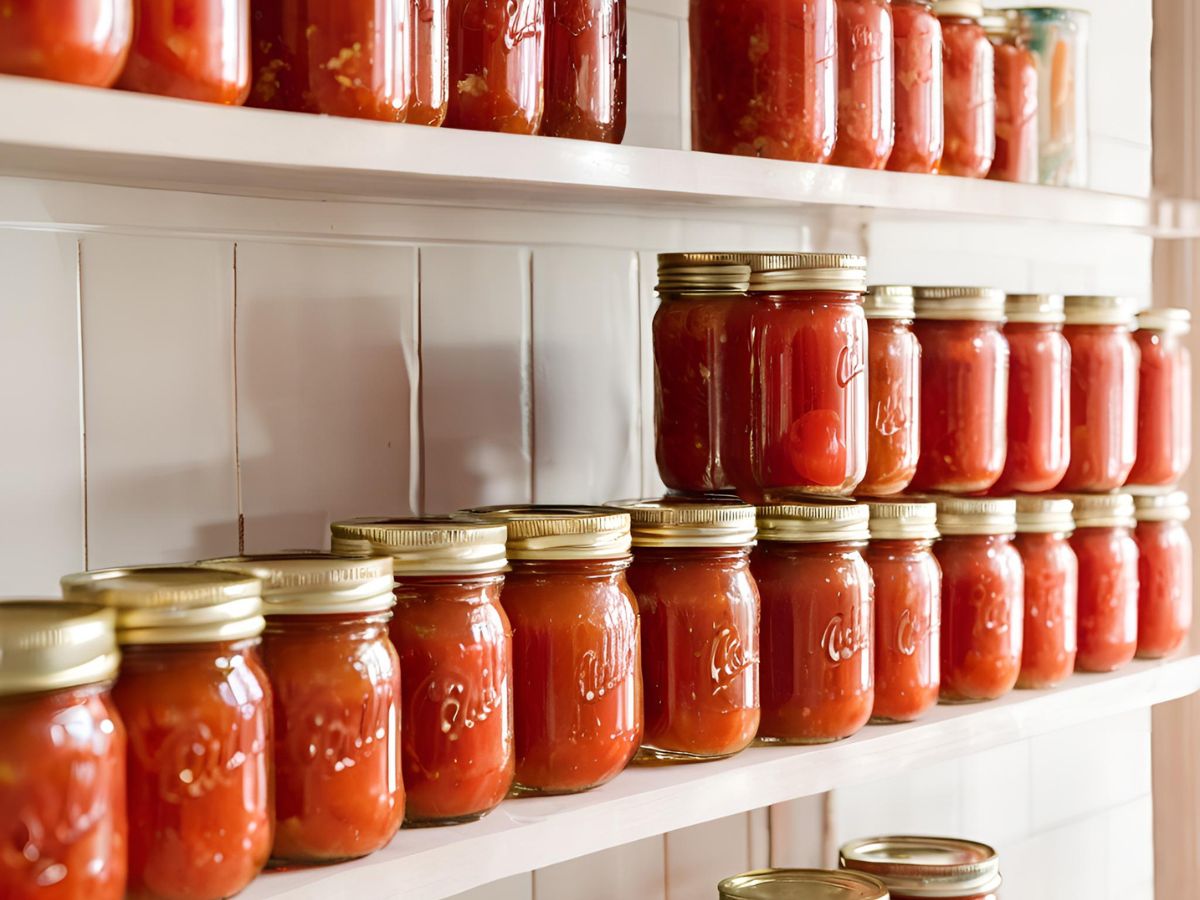
Once you’re sure the seals are good, wipe off the jar and lid with a clean, damp cloth. Label and store in a cool, dark, dry location. Avoid placing them in sunlight, as this will bleach the tomatoes’ color.
Properly canned tomatoes have the best taste and nutritional value for at least one year. I use them within three years, but I seldom have any that last that long.
Safely Preserving the Tomato Harvest
Unfortunately, there are videos and websites on the internet that promote unsafe canning techniques. These could lead to serious consequences. It’s crucial to rely on trustworthy sources for your canning information.
Tomatoes need a pH of 4.6 or lower to prevent the growth of botulism bacteria. Many modern tomato varieties naturally have a higher pH than 4.6, which is why it’s essential to add extra acid to your jars, especially when water-bath canning. Without proper acidification, the environment inside the jar could become a breeding ground for botulism, which is potentially fatal.
I understand that many find the detailed process of safe canning to be time-consuming and, therefore, off-putting. However, considering the effort we put into growing organic heirloom tomatoes, investing a bit more time to ensure they are safely preserved is worth it for the peace of mind and the guarantee of nutritious food. This extra step ensures that we enjoy not only the fruits of our labor but also the health benefits they bring.

Wrap UP
Mastering the art of canning tomatoes effectively allows us to savor the flavors of summer all through the year. The key to successful canning lies not just in the methods we choose—whether a water bath or pressure canning—but also in ensuring each jar is safely prepared to prevent any risk of contamination. Adding the right amount of citric acid or lemon juice ensures that the pH levels are adequate to stop any harmful bacteria in their tracks, which is crucial for water bath canning.
Reliable sources and careful adherence to tested recipes ensure that every batch of canned tomatoes is not only delicious but safe. The integrity of your canning practice directly affects the quality and safety of the food you preserve. This process might seem daunting due to the attention to detail required, but the assurance of having wholesome, home-canned tomatoes ready at your pantry makes it worthwhile. Remember, your food safety is up to you.
Moreover, sharing our experiences and the lessons we’ve learned through canning tomatoes enriches our community’s knowledge and helps all of us improve. Whether you’re just starting out or you’re a seasoned pro, there’s always something new to learn about this time-honored practice. So, let’s keep the conversation going, share our successes and tips, and continue to support each other in our canning endeavors. Happy Canning!


Leave a Reply