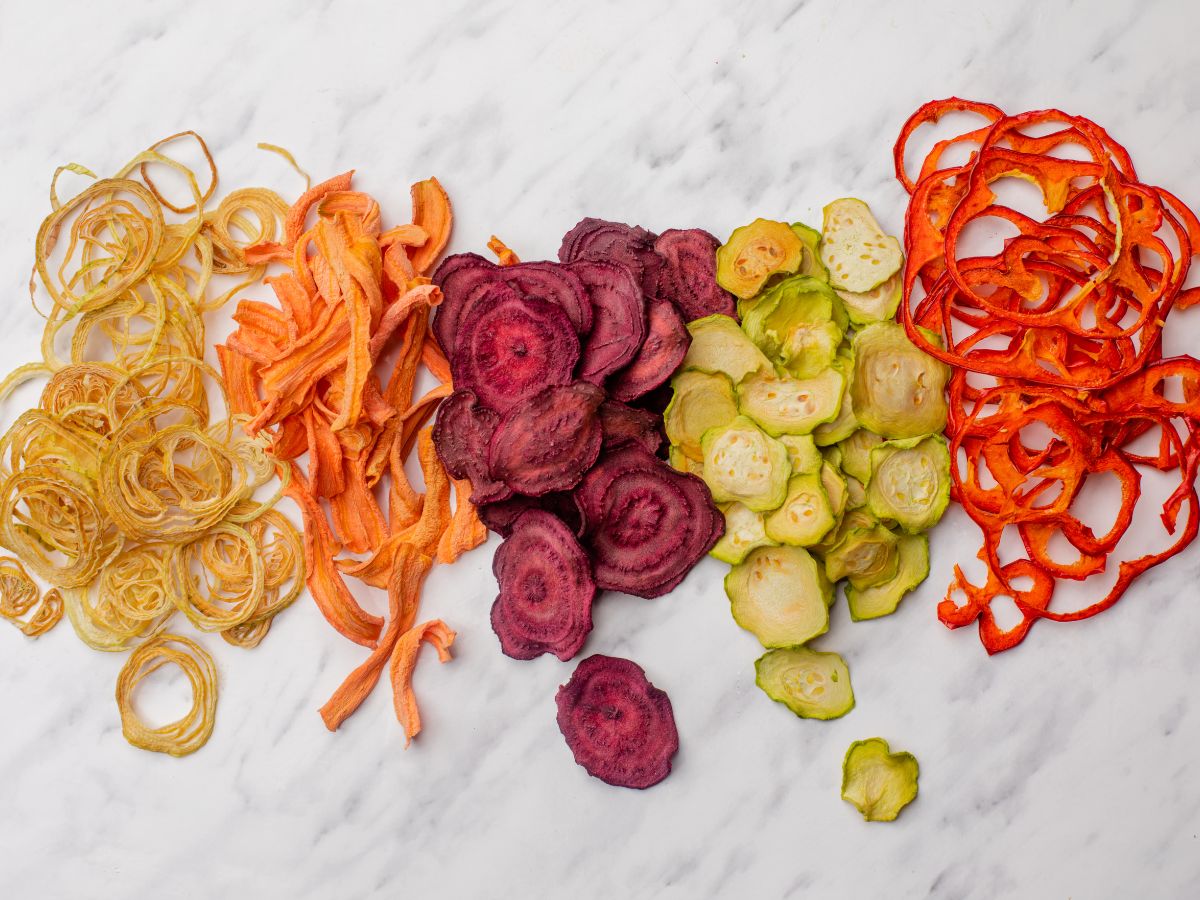
Food dehydration isn’t just a modern kitchen technique—it’s a practice as old as time, stretching back to when ancient civilizations first discovered they could use the sun’s warmth to preserve their food for leaner times. Even today, this method is celebrated for its simplicity and ability to maintain the natural goodness of our harvests. It keeps them nutritional, fresh, and flavorful long after they’ve been picked, all without any additives or preservatives. Ready to master this timeless food preservation technique? Let’s explore how you can begin preserving your harvest for lasting nutrition and sustainability!
In This Post
The Time-Honored Tradition of Food Dehydration
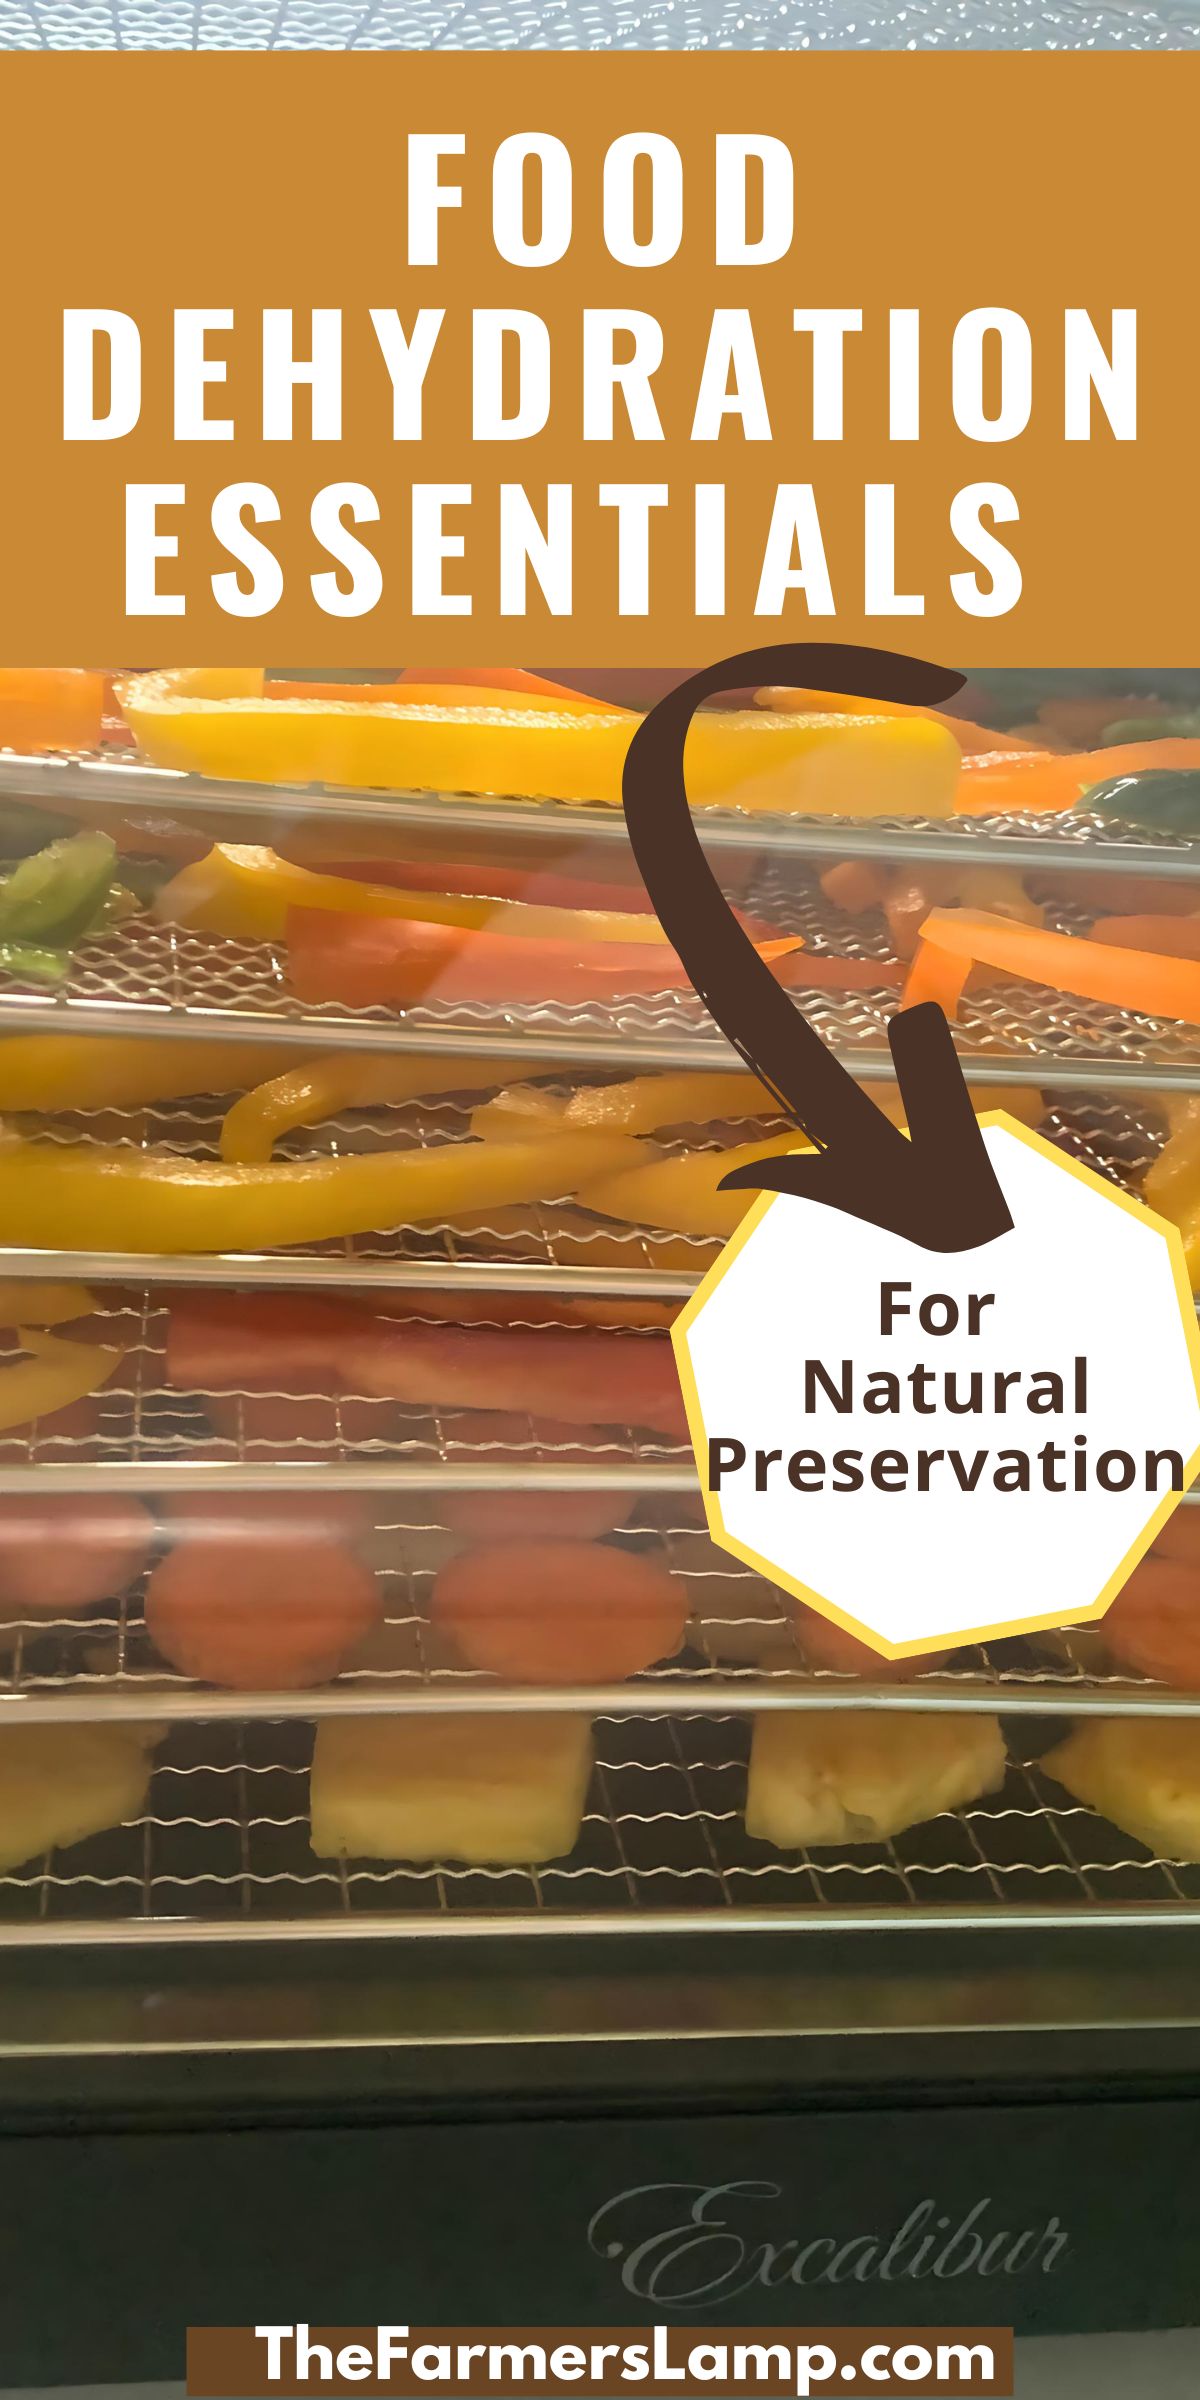
While the principles remain the same, the tools used for food dehydration have evolved. Modern electric dehydrators allow us to dry foods efficiently at home without relying on weather conditions. Our favorite dehydrator is the Excalibur, but you can use the dehydrator you feel confident with.
Why Dehydrate?
The beauty of dehydration is in its simplicity and effectiveness: removing moisture stops bacteria, yeast, and molds from spoiling your food. This way, we extend our food’s shelf life naturally—no chemicals needed, just good old drying.
This method doesn’t just keep your food safe; it keeps it packed with nutrients, too. Dehydration preserves vitamins and minerals often better than canning or freezing can, making it a standout choice for those of us keeping an eye on health. The only food we still can is tomatoes and meat. You can learn about safely canning tomatoes and how to can meat in our companion articles.
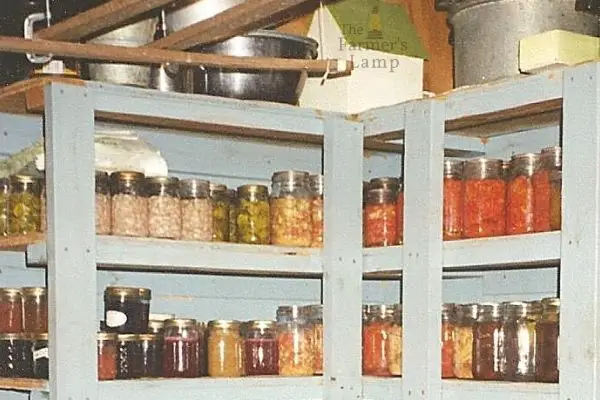
One of the best things about food dehydration is the space it saves. When you remove the moisture, the food shrinks, so you can fit a lot more in your storage jars. For instance, three jars of canned peas can fit into just one jar when they’re dehydrated.
This is a huge help when you’re trying to make the most of your pantry space. Plus, dehydrated foods are lighter and more compact, making them perfect for storage, travel, and even emergency supplies. This space-saving benefit is a great plus to me.
The only food we
Watch The Video
The Science Bit
During dehydration, water is slowly removed from food at low temperatures, protecting the integrity of the food’s cellular structure and preserving its enzymes and vitamins. This method is not just about pulling water out; it’s about doing so in a way that retains the most health benefits. Proper dehydration can also concentrate flavors, making dried foods tastier and more enjoyable.
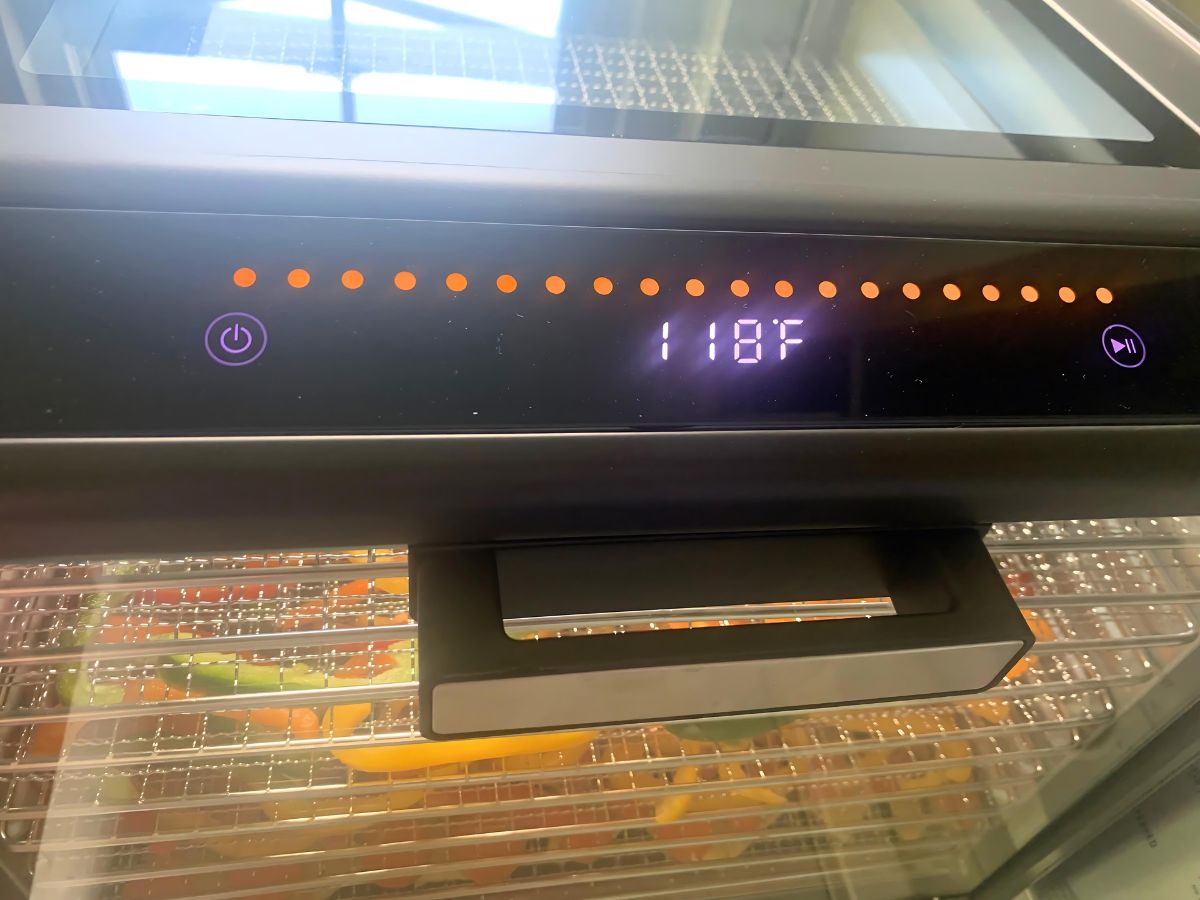
We dehydrate our food using the Living Foods method, which is gentle and natural. For this process you set the dehydrator between 118 and 120 degrees Fahrenheit. This precise temperature range is crucial because it’s low enough to preserve the live enzymes in our food.
Enzymes are vital for digestion and help our bodies absorb nutrients effectively. By maintaining temperatures below 120 degrees, we ensure these enzymes are not denatured (a process where proteins lose their structure and functionality due to heat).
At this gentle temperature, the natural vitamins and antioxidants in foods are also preserved. For instance, Vitamin C and B vitamins are preserved in this method rather than destroyed as they are in higher heat processes. This is a significant advantage over other methods like canning, which typically involves high temperatures that can kill the living enzymes in food. The only food we preserve with pressure canning is tomatoes and meat. Our companion articles on safely canning tomatoes and canning meats offer in-depth information for you.
Keeping the temperature just right does more than lock in nutrients—it also keeps all the delicious, natural flavors and vibrant colors of our food. This means everything you dehydrate, from apples to zucchini, not only stays healthy but tastes great too.
It’s all about finding that perfect balance. When we stick to these lower temperatures, we’re making sure our foods are as wholesome as they are delicious. This approach keeps our food tasting fresh and full of life, just like it was straight from the garden. It’s a simple way to make sure our pantry is stocked with healthy and delicious food year-round.
Getting It Right
Getting the best results from food dehydration is more than just flipping a switch; it’s about really getting to know your food and what it needs to dry perfectly. Each type of food, whether it’s a juicy apple, fresh basil, or a slice of venison, has its own sweet spot for drying. When you hit that spot, you’re not just preventing spoilage; you’re capturing and locking in those rich, natural flavors and essential nutrients for years to come.
It’s crucial to take the time to familiarize yourself with your dehydrator’s specific instructions. Each model is a little different, and understanding the nuances of yours will set you up for success. We stand by the Living Foods method as the gold standard for drying—it keeps everything about as fresh and nutritious as can be. Still, make sure to consult the manual that comes with your dehydrator to get the details just right.
The key to perfect dehydration lies in controlling the temperature and maintaining consistent air circulation. If it gets too hot, you’ll cook your food instead of drying it. Too cool, and you might invite bacteria that spoil everything. That’s why investing in a dehydrator with adjustable settings is a game-changer. It allows you to fine-tune the process, ensuring that each type of food is dried under ideal conditions. These are some of the reasons we love our Excalibur dehydrator.
Preparing Foods for Dehydration
Before we begin with the specific food dehydration steps for different types of food, it’s crucial to recognize that each type of food requires careful handling to ensure it dries evenly and maintains its nutritional value and flavor. From simple tasks like washing and slicing to adjusting the right temperature, following these steps will help you get the best dehydration results.
Let’s walk through how to properly prepare various foods to ensure they are perfectly dehydrated. Remember, while these are general guidelines, your dehydrator might have specific requirements, so always check your manual to tailor these steps accordingly.
Fruits and Vegetables:
- Wash thoroughly.
- Peel (if necessary).
- Slice uniformly for even drying.
- Pre-treat with apple cider vinegar, lemon juice, or ascorbic acid (for fruits prone to browning).
- Check your dehydrator manual for specific temperature and time settings, or use the Living Foods Method.
Herbs:
- Harvest before they start forming their blooms for seeds for peak oil content.
- Rinse gently in cold water and pat dry.
- Remove any trash and wilted or discolored leaves.
- Leave whole or chop, based on preference.
- Consult your dehydrator manual for drying temperature, or use the Living Foods Method.
Nuts and Seeds:
- Use raw, unsalted nuts and seeds.
- Soak in water for several hours (optional but beneficial).
- Drain thoroughly and pat dry.
- Spread in a single layer on dehydrator trays.
- Set your dehydrator at 118 to 120 degrees F to preserve oils and nutrients.
Legumes:
- Harvest fresh from the garden and remove any debris or damaged parts.
- Shell your peas or beans.
- Rinse thoroughly to remove any dirt or residue, and drain thoroughly.
- Spread evenly and in single layers on dehydrator trays to ensure uniform drying.
- Set your dehydrator to the recommended temperature for legumes and grains—check your manual for specific settings, or use the Living Foods Method.
Each type of food needs just the right touch to dehydrate properly. It’s important to consult your dehydrator’s manual for the best temperature and timing recommendations, as these can change depending on your specific model and the conditions in your area
Living Foods Dehydration Method
We’ve talked a lot about the living foods method of food dehydration, highlighting its benefits and why it’s such a fantastic way to preserve your harvest. Now, I want to share a detailed guide with you. This section will walk you through everything you need to know, from the equipment you’ll need to the step-by-step process and some handy tips to make sure your foods come out perfect every time.
Keep in mind that the living foods method, with its lower temperatures, will take longer than using higher temperatures. This can mean several additional hours of drying time. While you’re learning this method, I recommend increasing the dehydration time by 50% and then checking to see if the food is ready.
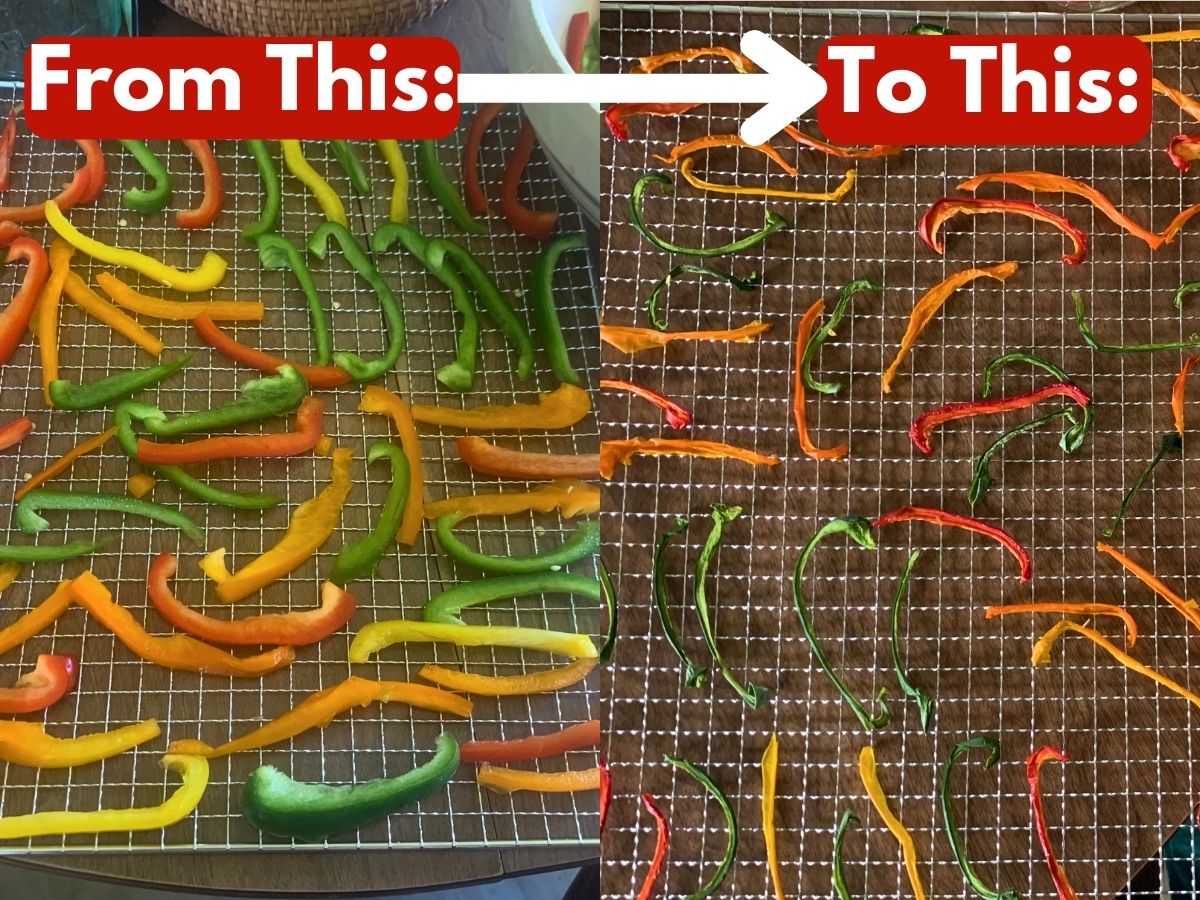
Most dehydrators don’t include specific settings for this method, so check your manual for guidelines on determining when food is properly dehydrated. For instance, pineapples will be pliable but not sticky when fully dehydrated, while peppers will be brittle. Adjust the drying times accordingly to ensure your food reaches the ideal texture and dryness.
- To begin using the living foods dehydration method, you’ll need a dehydrator that can maintain a lower temperature of 118°F to 120°F. Essential equipment includes adjustable shelves, fine mesh sheets for smaller items, and non-stick sheets for wet ingredients. This is another reason we love our Excalibur!
- Prepare the food according to the specific directions for your dehydrator.
- Spread the prepared food on the trays without overlapping to ensure even airflow.
- Set the dehydrator to the appropriate temperature for living foods, 118 Degrees F and not exceeding 120 degrees F, and start the process.
- When the time is up, be sure to check your food to ensure it’s ready.
- Do not store warm food, wait until it has reached room temperature before storing it.
By following these steps and understanding the principles behind the living foods dehydration method, you can enhance your food preservation techniques while maintaining a high level of nutritional retention in your dried foods. Always remember to consult your dehydrator’s manual for specific temperature and time settings, as these can vary based on the model and environmental factors.
Storing Dehydrated Food
Once you’ve successfully dehydrated your foods using the Living Foods Method, proper storage is key to maintaining their quality and extending their shelf life. Here’s how you can store your dehydrated foods to keep them fresh and nutritious:
- Glass Canning Jars:
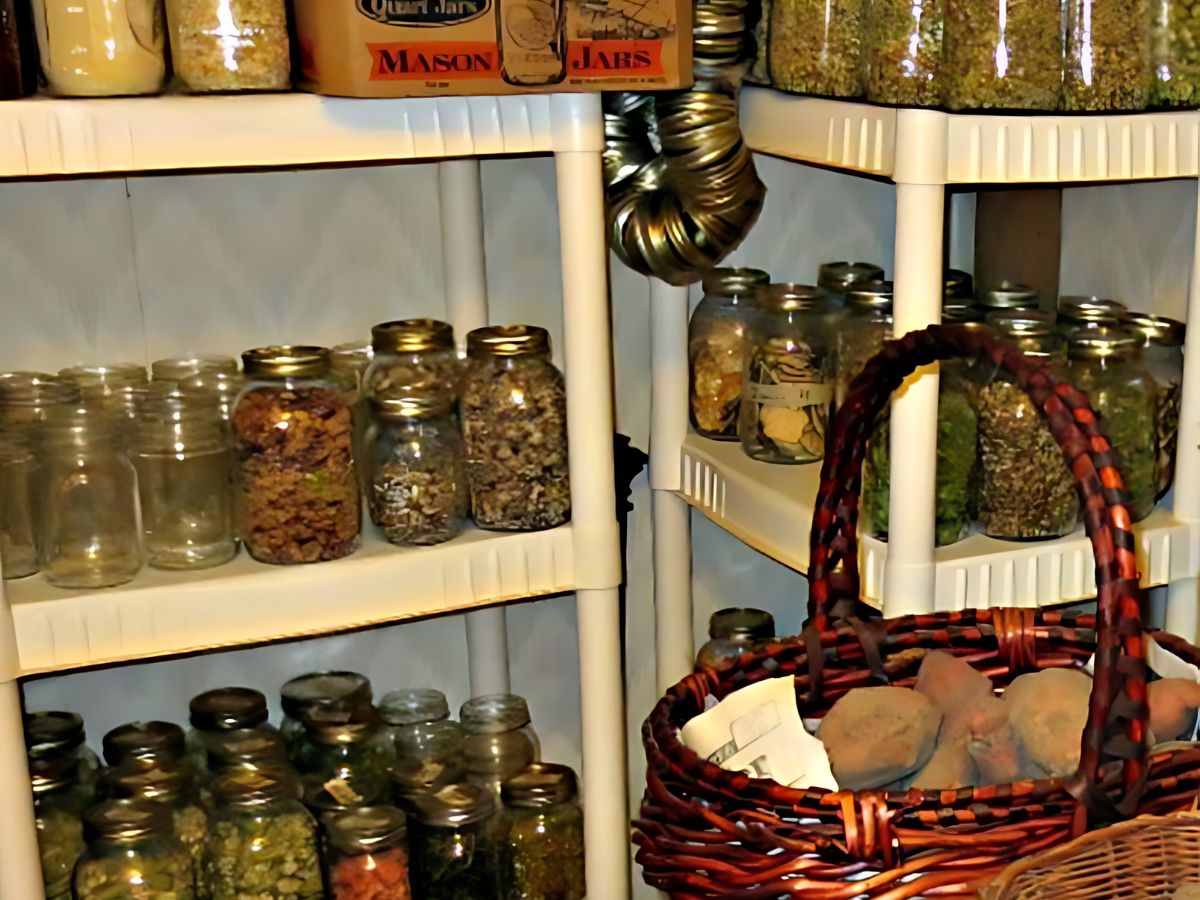
- We prefer to store our dehydrated foods in glass canning jars. These jars are sturdy and can be sealed tightly to keep out moisture and air. We use an Electric Mason Jar Vacuum Sealer to remove the air from the jar and seal it. I love this because if I open a jar and only use part of it, this machine quickly and easily reseals it for me!
- Vacuum Sealer Systems:
- Vacuum sealers are another excellent option for storing dehydrated foods. These systems remove the air from the storage bags or containers, creating a vacuum seal that significantly reduces the risk of spoilage. Vacuum-sealed bags are space-efficient and can be easily stored in your pantry or freezer.
- Glass Jars and Oxygen Absorbers:
- For those who don’t have access to a vacuum sealer, glass jars combined with oxygen absorber packets can also do a great job. The oxygen absorbers help to remove any remaining air inside the jar and seal it, which helps to keep the food dry and prevent oxidation and mold growth.
- Mylar Bags and Oxygen Absorbers:
- Mylar bags are another popular choice for long-term storage. When combined with oxygen absorbers, these bags provide excellent protection against light, moisture, and air. They are particularly useful for storing large quantities of dehydrated foods.
- Storage Environment:
- Regardless of the storage method you choose, it’s crucial to store your dehydrated foods in a cool, dark, and dry place. Exposure to heat, light, and moisture can degrade the quality of your food and shorten its shelf life.
Tips for Storing Dehydrated Foods
- Fruits and Vegetables: Using one of the methods above, store in small, portion-sized containers to avoid opening and exposing large quantities to air and moisture each time you use them.
- Herbs: Using one of the methods above, store herbs in small glass jars to maintain their potency. Make sure they are fully dry to avoid mold growth.
- Meats and Fish: Vacuum sealing is the best method for dehydrated meats and fish to ensure they remain safe and flavorful.
- Nuts and Seeds: To keep them fresh and crunchy, store them in glass jars or vacuum sealed bags using one of the methods above.
- Legumes and Grains: For long-term storage, store in bulk in Mylar bags with oxygen absorbers or in large glass jars (this is what we do) and use the Electric Mason Jar Vacuum Sealer.
By following these storage tips for food dehydration, you can ensure that your dehydrated foods remain as fresh and nutritious as the day you dried them. Whether you use glass canning jars, vacuum sealers, or other air-tight containers, proper storage is essential for getting the most out of your dehydration efforts.
Wrap UP
Food dehydration is a wonderful way to preserve the abundance of your harvest while keeping all the natural goodness intact. Using the living foods method, you can ensure your dried foods are nutritious and full of flavor, just as nature intended. This method is great for long-term storage and supports a sustainable, self-sufficient lifestyle.
I encourage you to give these techniques a try and see how they fit into your homesteading practices. Whether you’re drying fruits, vegetables, herbs, or experimenting with nuts and grains, the results are both rewarding and practical.
I’d love to hear about your experiences! Share your tips, stories, and how living foods dehydration has worked for you. Your feedback and stories are invaluable as we all learn and grow together.
[convertkit form=6206130]
Leave a Reply