Preserving vegetables through canning and freezing is like wrapping up a little bit of summer to enjoy all year. It’s a practical way to ensure nothing goes to waste while keeping your pantry stocked. Whether you grow them in your garden, buy them at a Farmer’s Market, or even a grocery store, preserving produce is a great budget saver. But a little know-how and some good old-fashioned attention to detail go a long way to get those jars and freezer bags just right. Whether you’re just starting out or you’ve been at this for a while, these tips are meant to help everyone get the most out of preserving vegetables.
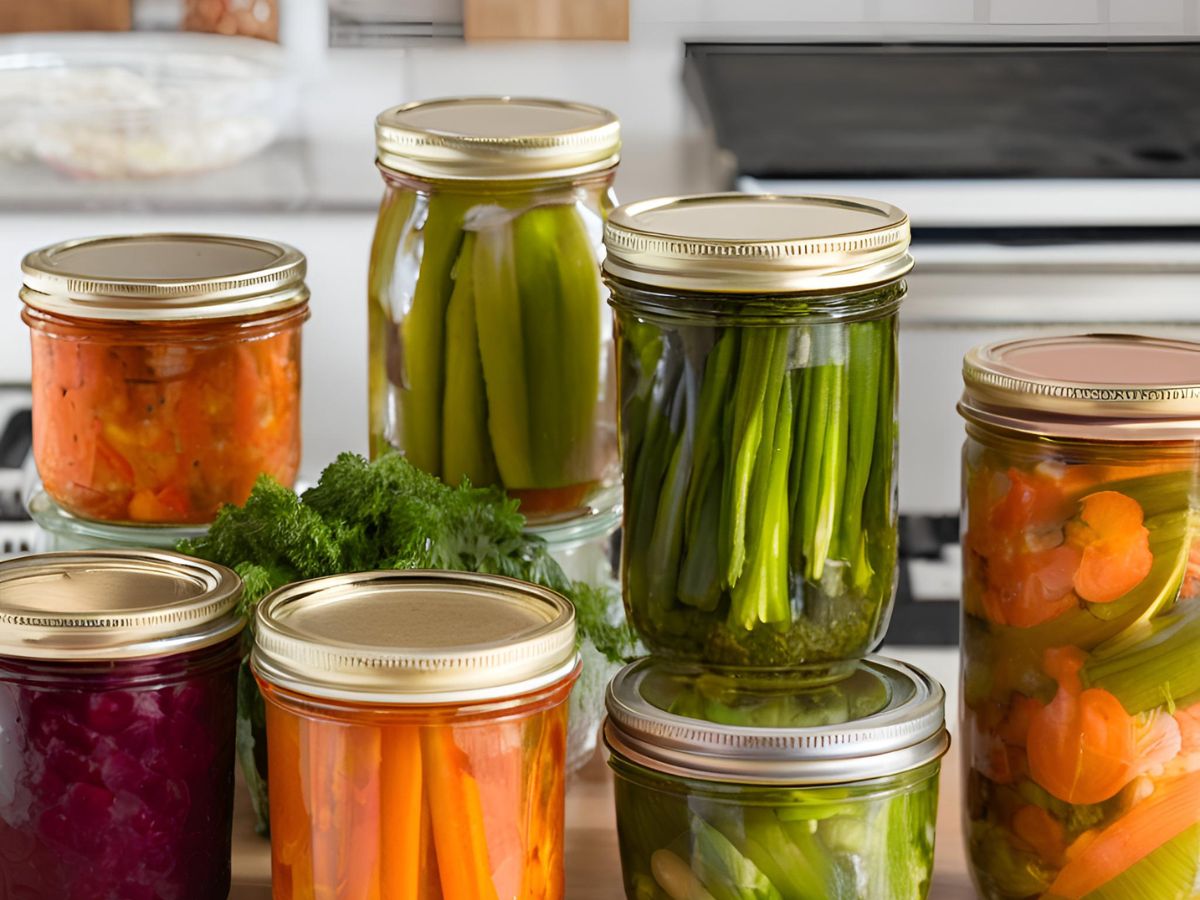
Our Best Tips For Preserving Vegetables
As we prepare to preserve our garden’s harvest, it’s important to focus on maintaining the nutrition and taste of our produce. From picking to packing, every step matters. Here are our best tips to help you preserve vegetables safely, ensuring they’re just as good in the off-season as when you pick them.
Selecting Fresh, Seasonal Produce
Focus on using fresh, seasonal produce for your canning and freezing projects. This not only supports local agriculture but also ensures that you’re working with the highest quality ingredients. For instance, tomatoes and cucumbers are available in summer, and apples and pumpkins in fall. These are at their peak and provide the best flavor and nutritional content.
Seasonal produce is also less likely to have been treated with post-harvest chemicals, such as wax coatings or preservatives, which are often used to prolong shelf life and enhance appearance during long transport periods. By growing your own or choosing local and in-season produce, you’re not only enjoying better taste and nutrition but also contributing to a healthier environment.
Before preserving, ensure your fruits and veggies are stored in conditions that maintain their freshness, like a cool, dry place for root vegetables and a refrigerated setting for leafy greens, to optimize the quality of your canned and frozen goods.
Blanching Techniques for Freezing
Blanching your garden vegetables before freezing them is key to keeping them as fresh, crisp, and flavorful as the day you picked them. It’s a simple step: pop your veggies into boiling water briefly, then quickly cool them off in ice water. This quick heat, followed by a rapid cool down, stops the cooking process in its tracks and locks in color, texture, and taste.
Here’s a quick guide on how long to blanch some common garden favorites:
- Spinach and kale: Just about 2 minutes.
- Broccoli and cauliflower: Around 3 minutes.
- Carrots and green beans: Between 3 to 5 minutes, depending on their size.
If you prefer, steaming is a gentler option than boiling but just as effective. It’s particularly good for delicate veggies or to keep as many nutrients as possible intact, as less water is lost to the cooking water.
Here are a few more tips to make blanching a breeze:
- Consider using a blanching basket or a sieve. This will make it easy to get your veggies in and out of the water.
- Lay out your blanched veggies on a cookie sheet in a single layer to cool them down quickly and evenly. This step is essential before you pack them up for the freezer.
- Make sure your veggies are dry before freezing to avoid ice buildup.
By blanching your vegetables before freezing, you’ll ensure they stay beautiful and tasty, ready for whatever winter meal you throw them into. It’s a bit of prep now for a lot of convenience later!
The Importance of Sterilization in Canning
When it comes to canning, cleanliness isn’t just next to godliness—it’s essential. Making sure everything is sterile might sound daunting, but it’s just a matter of careful preparation. Here’s how you can ensure your canning process is as safe as it is productive:
- Sterilizing Your Jars and Tools: Start by getting your jars and canning tools sparkling clean. You can boil them in water for about 10 minutes or run them through a dishwasher. Keep those jars warm until you’re ready to fill them to keep unwanted germs at bay. I fill my jars with boiling water and let them sit in my sink until I’m ready to use them.
- Follow the Latest Guidelines: Canning isn’t just an art—it’s a science. Be sure you’re up-to-date with the latest canning guidelines from trusted sources like the National Center for Home Food Preservation. It’s all about ensuring your food is as safe as it is tasty.
- Pressure Canning for Low-Acid Foods: Foods like tomatoes and meats need a bit more care. Pressure canning gets hotter than a boiling water bath, which is crucial for killing bacteria that boiling just can’t touch. Remember, safety first! Our companion articles on canning tomatoes and canning meat will help you step-by-step.
- Clean as You Go: Keep your workspace tidy and wipe down surfaces as you work. A clean kitchen is the starting point for safe canning. I’m a messy cook but a tidy canner!
By sticking to these simple rules, you can preserve your vegetables safely and enjoy delicious food for months to come.
Eliminating Air For Better Preservation
Keeping air out of your preserved foods is crucial to keep them fresh and free from spoilage. Whether you’re canning summer tomatoes or freezing garden peas, here’s how to ensure your food stays its best.
- In Canning: After filling your jars, gently tap each jar against the counter. This simple action helps release any trapped air bubbles. For an even better way to prevent air pockets, run a non-metallic spatula or a special bubble-freer tool along the inside edge of the jar. These little steps make a big difference in ensuring your jars seal properly, keeping out bacteria, and preventing spoilage.
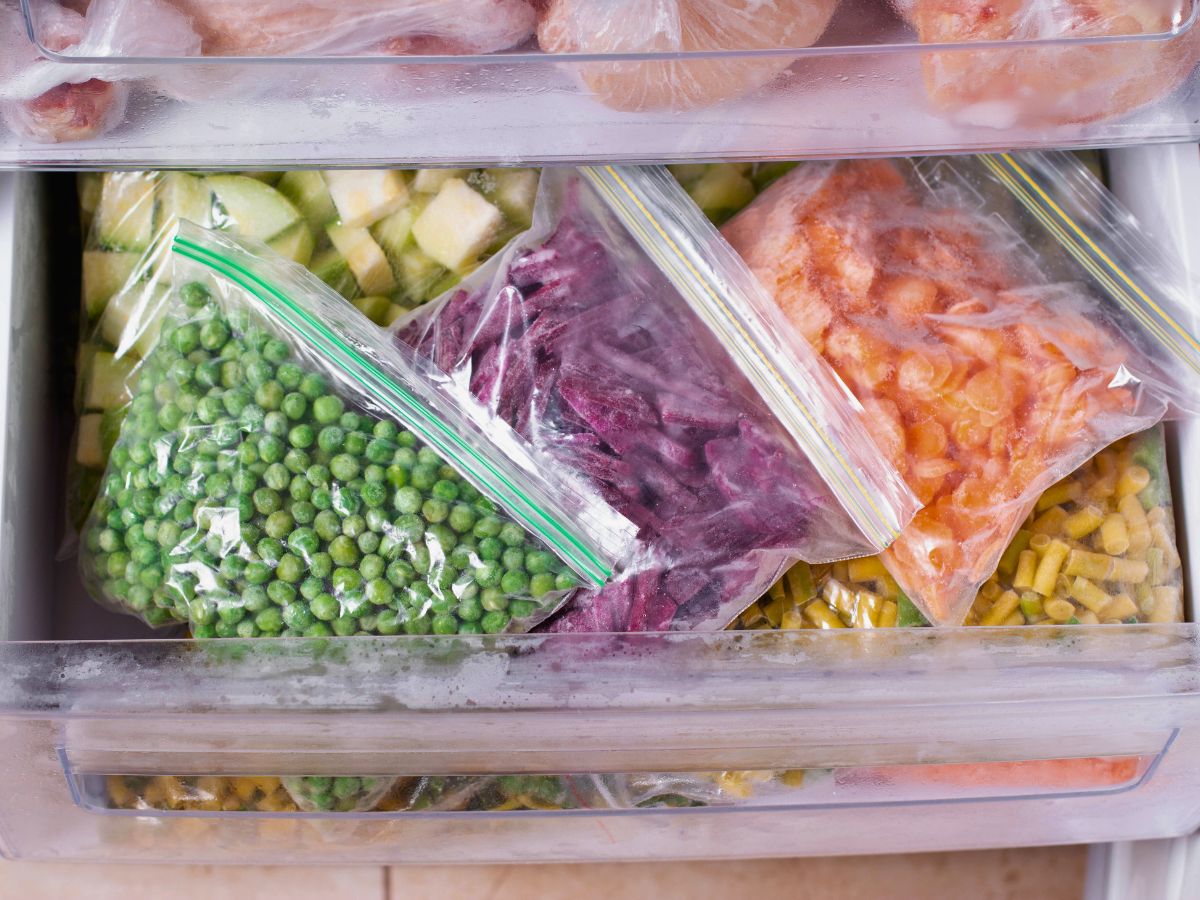
- In Freezing: When packing foods in freezer bags, remove as much air as possible before sealing them. For an even better seal, consider using a food vacuum sealing system. These systems remove almost all the air from your freezer bags or containers, which is excellent for preventing freezer burn and extending the shelf life of your foods. This method keeps your frozen goods tasting fresher and helps maintain their natural color and texture as close to the day you packed them as possible.
Taking these steps to eliminate air from your preserved foods not only extends their shelf life but also enhances their quality when you’re ready to enjoy them later. A bit of extra care now ensures flavor and nutrition later.
If you want to learn about safely canning tomatoes, our companion article can help you.
Choosing the Right Containers for Freezing
For freezing, the choice of container is crucial:
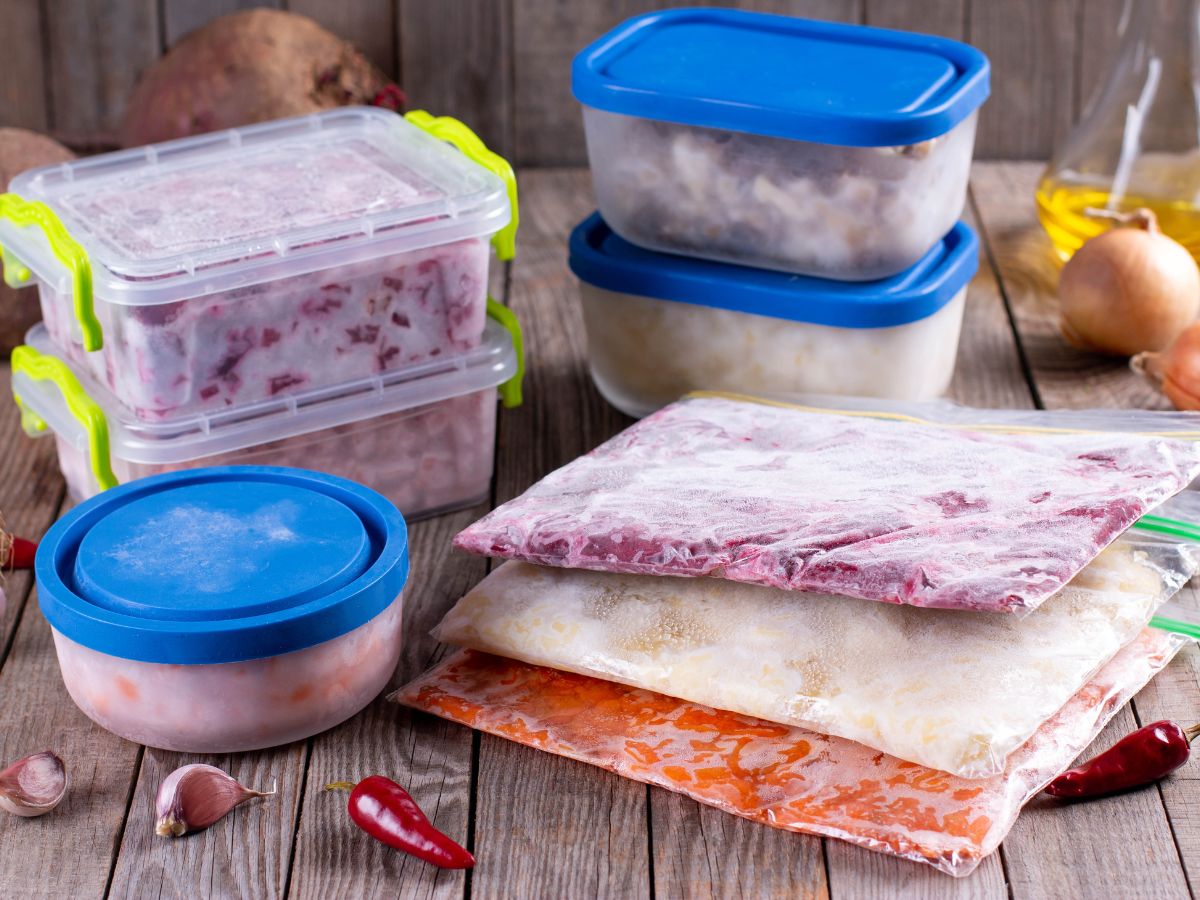
- Airtight Containers: Ensure containers are durable and designed for freezer use. Glass and rigid plastic containers are excellent choices. I love my glass food saver bowls.
- Freezer Bags: Opt for thick, durable bags made for freezing to protect against freezer burn and ensure food safety.
- Portioning: Freeze food in usable portion sizes to avoid thawing more than you need, which helps preserve food quality and reduces waste.
Pressure Canning Essentials
Pressure canning is crucial for safely preserving low-acid foods like vegetables and meats. It’s all about keeping your home-preserved foods both delicious and safe. Here’s a simple breakdown of what you need to keep in mind to ensure every jar you seal is as safe as it can be:
- Equipment Maintenance: Keeping your pressure canner in top shape is crucial. Regularly check the pressure gauge to ensure it’s reading accurately, and if your model has one, inspect the gasket for any wear and tear. I use an All American Pressure Canner, which I find wonderfully reliable because it’s designed without a gasket, eliminating a common point of failure and making maintenance easier.
- Adjust for Altitude: The altitude where you live can affect the internal temperature of your pressure canner, which influences how effectively it can preserve your food. If you’re canning at high altitudes, you’ll need to increase the pressure to compensate, ensuring that the temperature inside the canner is sufficient to kill all harmful organisms. Consult your canner’s manual or reliable canning guides to find the right adjustments for your altitude.
- Here’s a general guideline for adjusting pressure canning settings according to altitude:
- 1,000 feet or less: 10 pounds pressure (weighted gauge), 11 pounds (dial gauge)
- 1,001 to 2,000 feet: 15 pounds pressure (both weighted and dial gauges)
- 2,001 to 4,000 feet: 15 pounds pressure (both weighted and dial gauges)
- 4,001 to 6,000 feet: 15 pounds pressure (both weighted and dial gauges)
- 6,001 to 8,000 feet: 15 pounds pressure (both weighted and dial gauges)
- Above 8,000 feet: Consult specific guidelines or local extension services for recommendations.
- These adjustments ensure that the internal temperature is high enough to safely preserve foods, especially low-acid types that require higher temperatures to avoid the risk of bacterial contamination, including botulism.
- I recommend checking the latest guidelines from the NCHFP or your local cooperative extension service for specific guidelines tailored to what you’re canning.
- Acidity Levels: For foods that are on the borderline of being low-acid, like tomatoes, it’s essential to adjust their acidity to ensure safety. Adding a bit of lemon juice or vinegar can lower the pH, creating an environment that’s hostile to bacteria, including botulinum spores. I use 25% apple cider vinegar and a dash of salt in canning my tomatoes. This simple step is necessary for canning low-acid foods.
Beyond equipment maintenance, altitude adjustments, and acidity management, here are some additional basics of pressure canning that can help ensure successful and safe results:
- Heating and Venting:
Once you’ve filled your pressure canner, it’s crucial to vent it before starting the timing of the pressure canning process. This step involves heating the water in the canner with the lid locked but the vent open, allowing steam to escape for about 10 minutes. Venting is vital because it purges the canner of air, ensuring that the environment inside is pure steam, which is necessary for achieving the correct pressure and temperature for safe canning. - Use of Proper Jars and Lids:
Always use canning jars specifically designed for pressure canning. These jars can withstand the high temperatures and pressure differences during the process. Similarly, ensure that your lids and seals are new or in good condition to prevent failures in sealing, which could lead to food spoilage. - Consistent Heat Management:
Once the canner is pressurized, manage the heat to maintain steady pressure throughout the processing time. Fluctuating pressure levels can lead to improperly processed foods that are unsafe to eat. Critical steps include monitoring the pressure gauge closely and adjusting your stove’s heat setting to maintain the proper levels. - Cooling the Canner Naturally:
After the processing time is completed, turn off the heat and let the pressure canner cool down naturally. Do not attempt to open the canner or cool it down quickly by opening the vent. Rapid cooling can cause the jars inside to break or not seal properly. Allow the pressure to drop to zero naturally, and wait a few more minutes before opening the canner to prevent any sudden changes that could affect the seals on your jars. - Checking Jar Seals:
Once the jars are cooled (usually 12 to 24 hours after canning), check that the seals have formed properly. Press the center of the lid; it should not pop up and down. If the lid doesn’t seal, refrigerate the jar and use the contents soon, or reprocess the contents with a new lid.- One of the most satisfying sounds for any home canner is the sound of jar lids popping as they seal. It’s like music to the ear, as each pop confirms that you’re preserving vegetables is a success.
- Proper Storage:
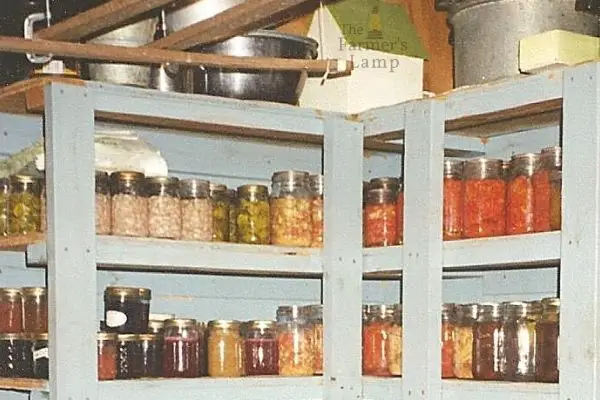
Store your canned goods in a cool, dark place to help preserve their quality and extend their shelf life. Avoid extreme temperatures and direct sunlight, which can degrade the quality over time. I store my home canned goods in an unheated room of our home that I use as a pantry.
Extra Tips for Best Results
- Label and Date: Clearly label each jar or container with its contents and the date of freezing or canning. This helps manage your inventory and helps you use older items first.
- Check Regularly: Inspect your stored goods monthly for any signs of spoilage, such as leaks, rust, or freezer burn.
- Maintain Stable Temperatures: Keep your freezer at a consistent temperature to prevent the thaw-refreeze cycle, which can deteriorate food quality and safety. Also, keeping the pantry at a consistent temperature will help keep your home canned foods safe.
Wrap UP
As we’ve been chatting about preserving the bounty of our gardens, a few key themes have emerged that really make the difference in preserving vegetables by canning and freezing. Starting with the freshest produce you can find enhances the taste and safety of your preserved foods. Remembering the importance of blanching for freezing helps lock in those vibrant colors and flavors.
Keeping everything sterile and ensuring all the air is out of your jars and bags are fundamental steps that cannot be overlooked if you want your food to last and stay delicious. For those using pressure canners, adjusting for altitude is crucial to ensure that your food is preserved safely. And isn’t it satisfying to hear that pop from the jar lids? It’s like they’re applauding your efforts in their own little way.
As you continue to preserve your harvest, each jar and freezer bag not only represents a job well done but also carries a piece of the season with it. What are you planning to preserve next? I’m always here for a chat if you need tips or just want to share your latest food preservation adventure!
Leave a Reply