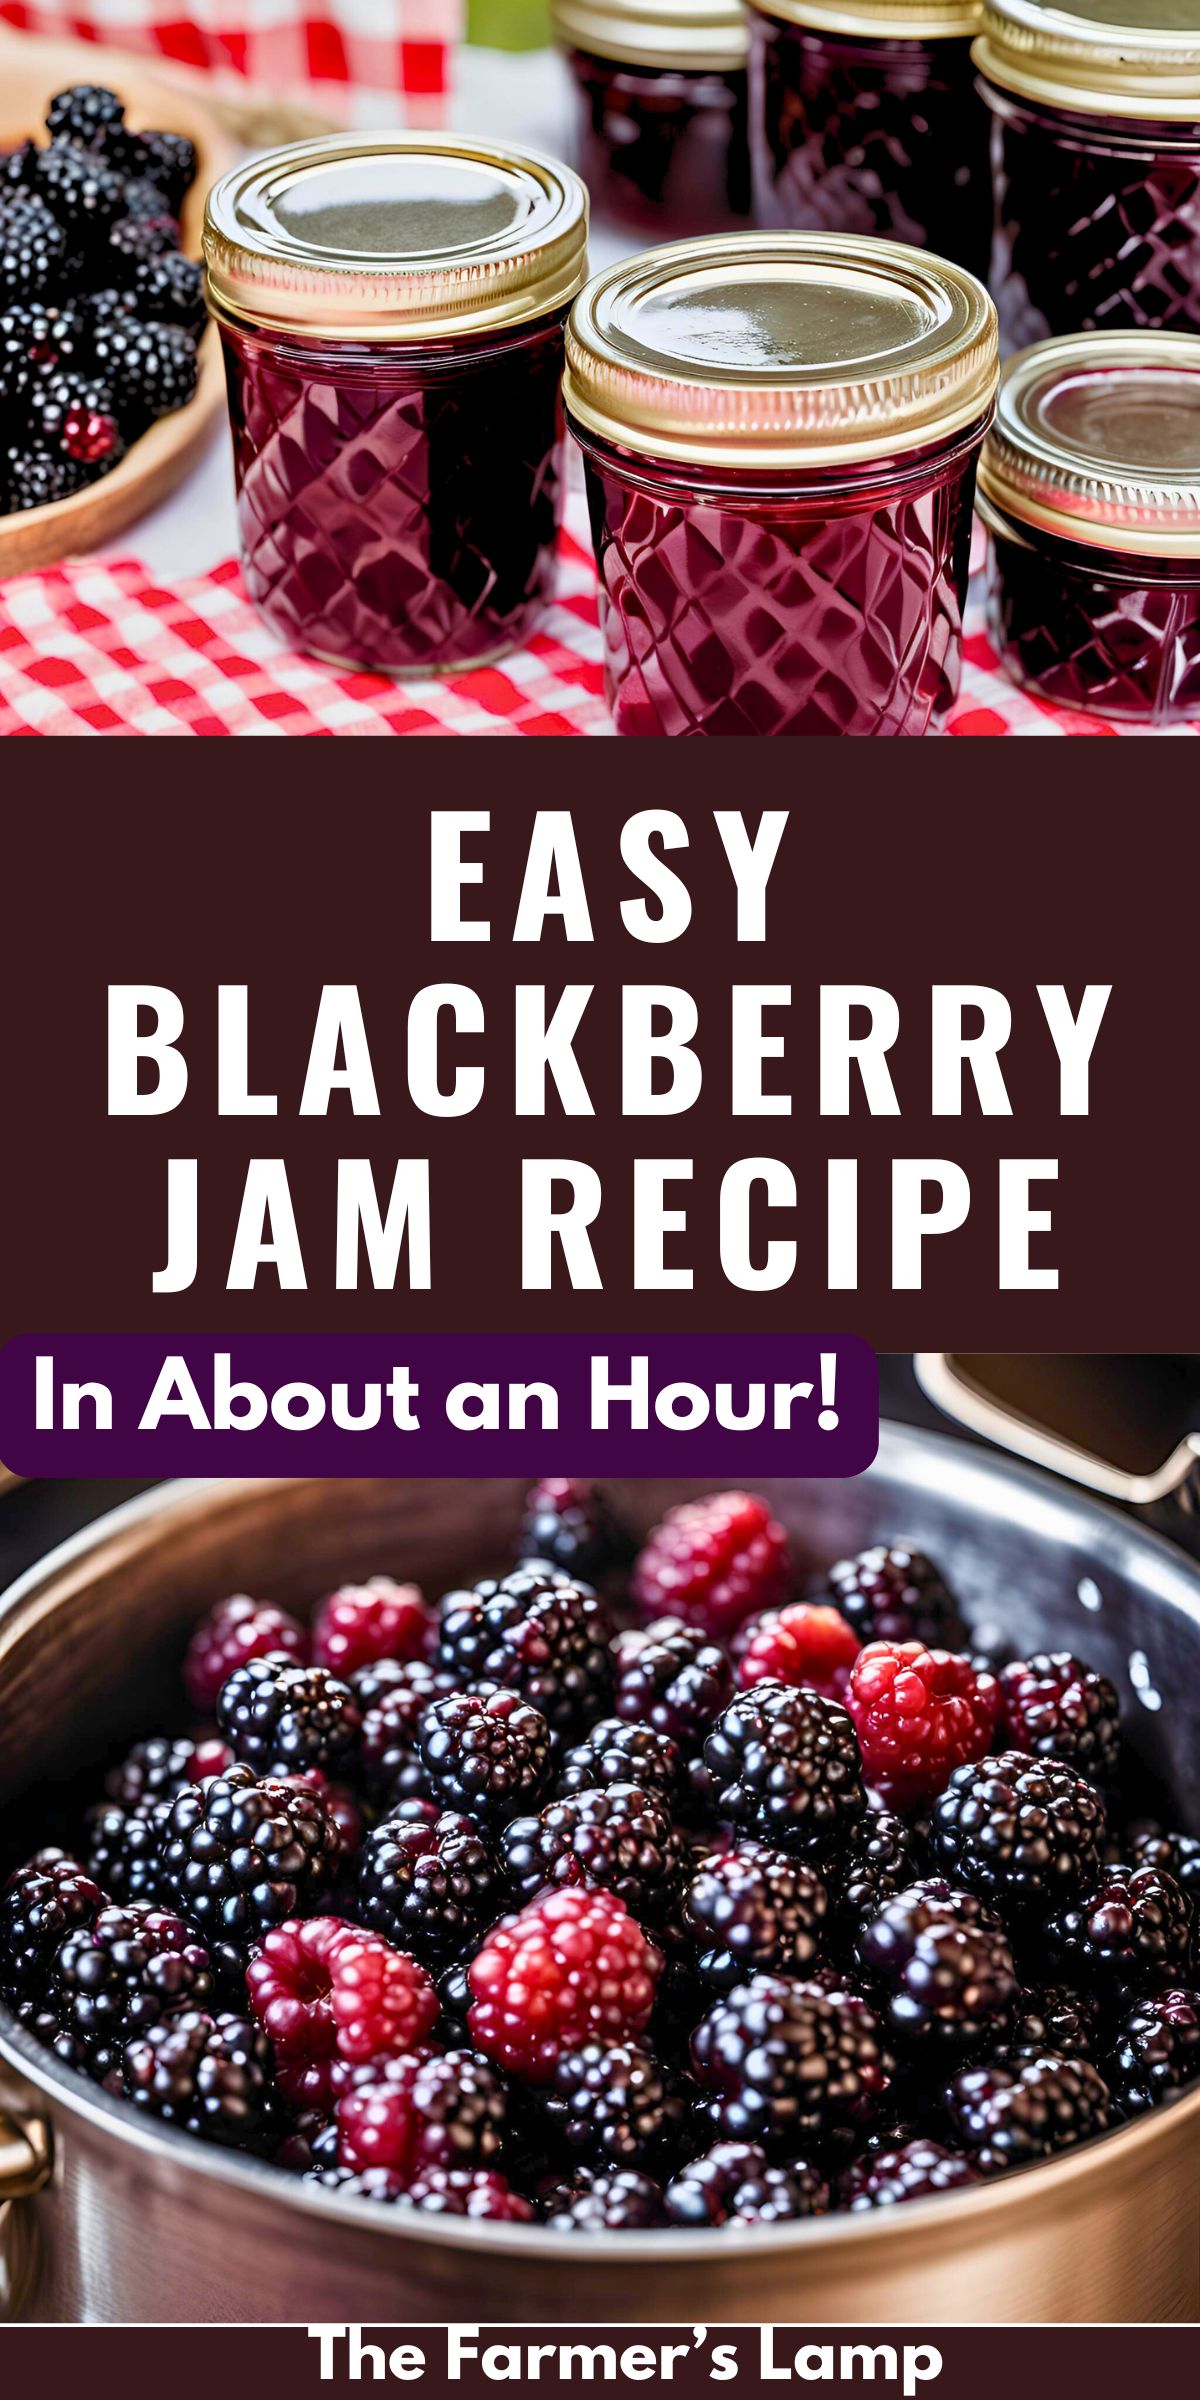
My blackberry jam recipe is a perfect way to savor the taste of summer throughout the year. We spend weeks picking and eating the berries as they ripen. The chickens are our constant companions when we’re picking berries, just hoping we let some fall (which we do). I prefer to freeze the berries as we harvest them and make a large batch of jam once the harvest is done. For those who like to make jam along the way, you can prepare small batches as the berries ripen. This homemade treat is simple and rewarding with just a few ingredients.

In This Post
Simple Blackberry Jam Recipe
Delicious and fresh, this blackberry jam will make you forget all about store-bought versions. Besides, it’s difficult to find jam with seeds and pulp in it at the grocery store. Don’t worry; I’ve got you covered if you prefer seedless blackberry jam. This recipe is quick and easy to make, only taking about an hour. I love that it only has four ingredients! If you don’t want to water bath it, you can freeze it to keep that summer flavor going strong.
Equipment For Making Blackberry Jam
- Large pot for boiling berries (I use a 5-quart pot)
- Water Bath Canner (if you are freezing your jam, you don’t need this)
- Funnel
- Strainer (I use cheesecloth in my colander, but use what you prefer)
- Stick wand or potato masher (I use my stick blender for the best results)
- half-pint or pint jars (I use pints, but half-pints are what most people put jam in)
- jar lifter
Blackberry Jam Recipe Ingredients
This Blackberry Jam recipe makes 8 pints of jam.
- Blackberries: Fresh or slightly under-ripe work best. If using frozen berries, thaw them first.
- Sugar: Essential for thickening the jam. The pectin I use works great for low-sugar options, or you can use a no-sugar pectin.
- Pectin: This helps to thicken the jam, though you can also make a pectin-free version. Blackberries have a lot of pectin, so you don’t have to use it. However, you will have to cook the jam longer, so I usually use about half a pack of pectin in each batch. This makes a little thinner jam, just so you know. This is my all-time favorite pectin.
- Apple Cider Vinegar or Lemon Juice: I use ACV (Fairchild’s is the brand we use, but if you can’t find it, it is okay to use an ACV brand like this one). You can use bottled or fresh lemon juice. Either of these adds the perfect hint of tartness.
- 6 quarts fresh or frozen blackberries ( about 18-20 cups)
- 2 Tablespoons ACV or Lemon juice
- 4-8 cups granulated sugar, adjust to taste. I use 5 cups of sugar in mine.
- 1 packet pectin
How to Make Blackberry Jam
- Start by cleaning your berries and jars. If you’re canning, prepare your water bath.
- Add the berries to a large saucepan and turn the heat on medium-low. Since my berries were frozen, I stirred them until they were soft and could be mashed.
- Once they are thawed, add the ACV or lemon juice and mash them. I use my stick blender because I like the fine texture it gives me, and I keep the pulp and seeds in my jam.
- If yours are fresh, use medium-low heat. Add the ACV or lemon juice and mash the blackberries.
- If you want to remove the seeds, use a potato masher so the seeds are large enough to be strained out.
- Simmer for 5-10 minutes.
- Seedless Option: This is optional. I Do Not remove them from my jam because we like it that way. You can use a fine mesh strainer, a colander with cheesecloth, or any strainer you have to separate the seeds from the juice.
- Measure out 8 cups of berry juice and add it to a large stock pot. For a traditional jam, add a couple of spoonfuls of seeds back in.
- Add Sugar: Stir in the sugar and cook on medium-low heat until it dissolves. Add 4 cups of sugar, stir, and taste, adding one cup at a time to get it to the desired sweetness. We like a tart jam, so I added 5 cups to mine.
- Increase the heat to medium-high and bring the mixture to a rolling boil.
- Add Pectin: Once the jam is at a rolling boil, sprinkle the pectin over the top of the jam and stir well. Boil for one minute and check the jam to see if it’s ready.
- No Pectin Option: If you prefer a pectin-free jam, blackberries’ natural pectin will do the job. Cook the mixture until it reaches 221°F, then do the jam test to ensure it’s set.
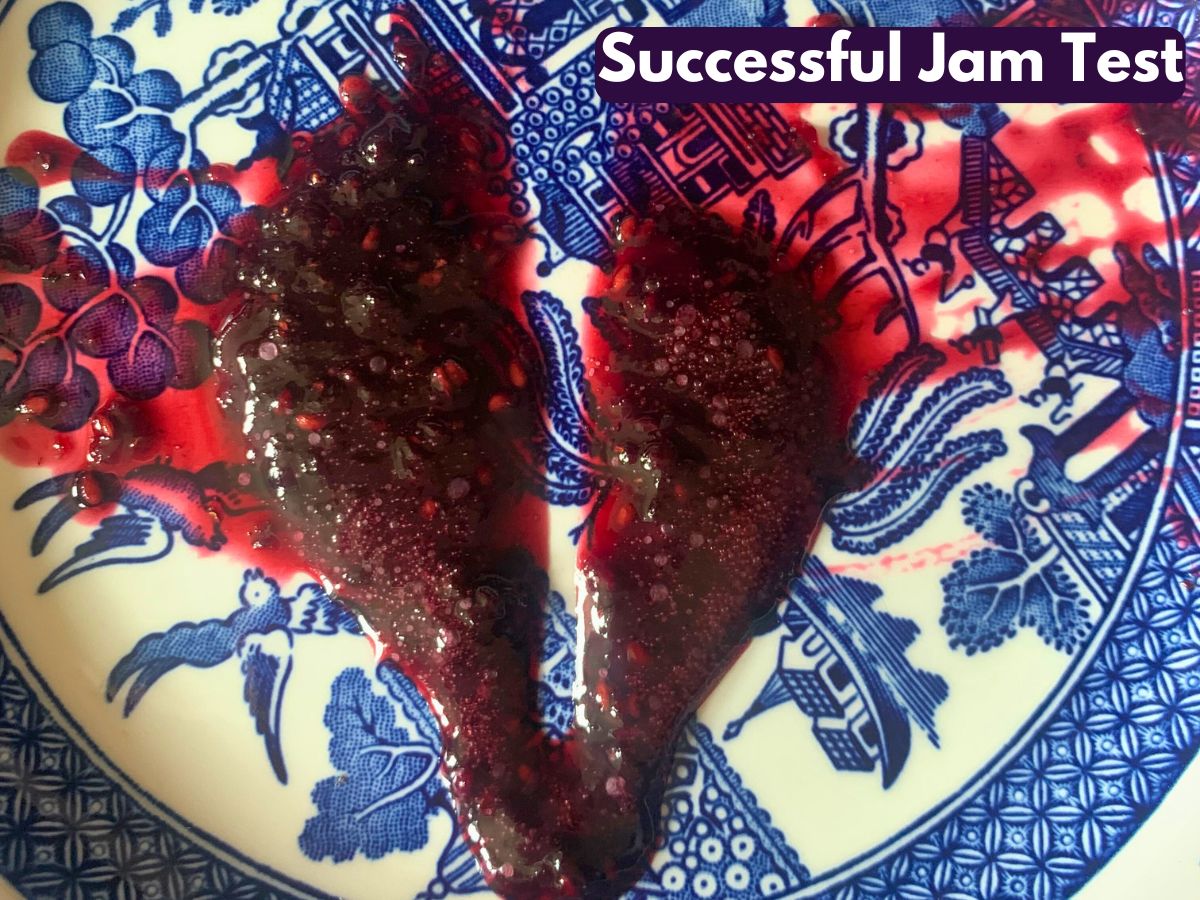
- Jam Test: Use a spoon to drop a small amount of jam onto a small, cold plate. Let it sit for a minute, then run your finger through the jam. Your jam is ready if it holds its shape and doesn’t run. If it’s too runny, boil it one minute longer and test again. Repeat until the jam is ready to set. This simple test ensures your jam has the right consistency before you jar it up.
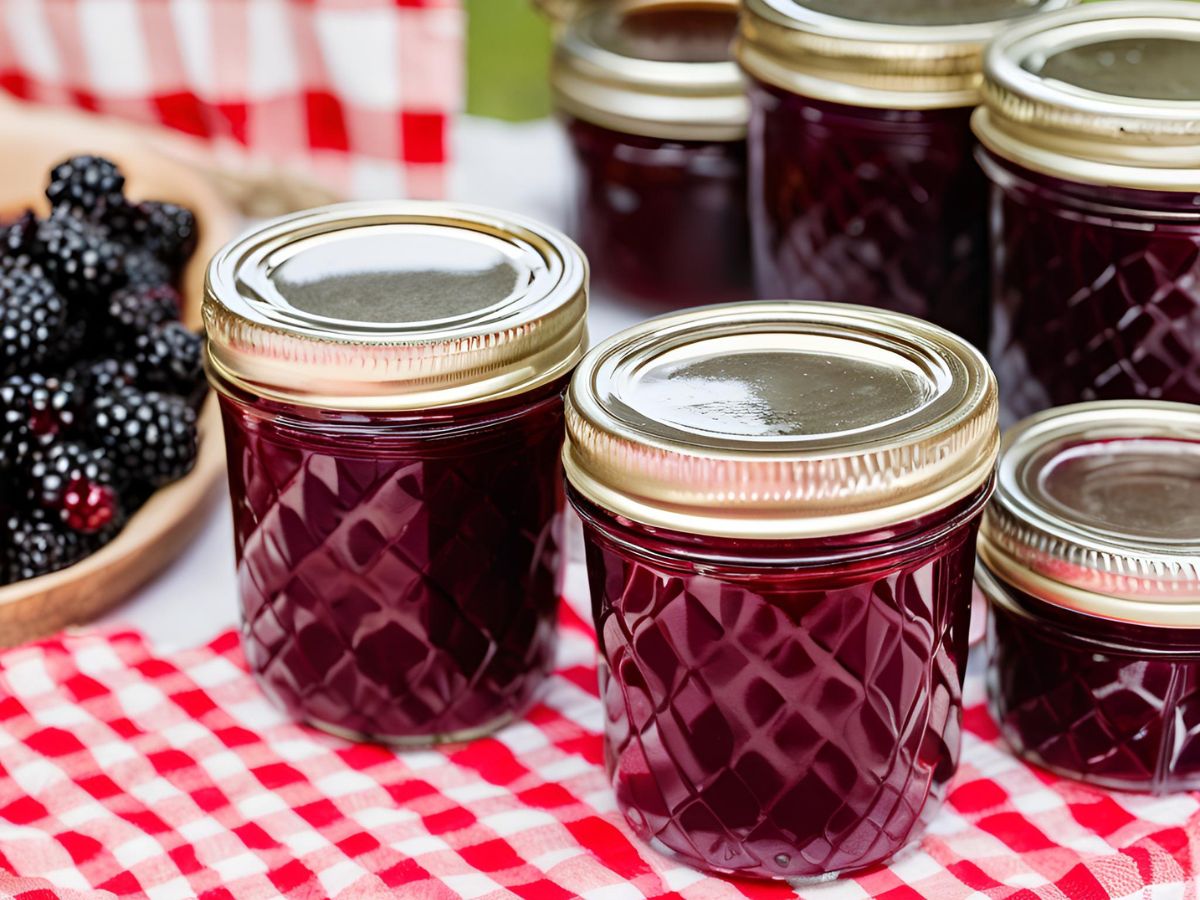
- Pour into Jars: Use a funnel to pour the hot jam into prepared jars.
- Wipe the mouth of each jar clean, then put the lids and rings on the jars.
Preserving Your Blackberry Jam
- Canning: Process in a boiling water bath for 10 minutes. Use a jar lifter to add the jars to the water bath canner and to remove them. They are HOT, so use caution.
- Place the hot jars on a heat-proof surface—I use an old bath towel—and let them sit for 24 hours to seal properly.
- Check the seals before storing the jam jars in a cool, dry place for up to a year.
- I have used jam that was three years old, and it was still delicious. The nutritional value falls after one year, but not the flavor. Use your good judgment when you open a jar.
- Freezing: Let the jam cool in the jars at room temperature for 24 hours, then store it in the refrigerator for up to a month or in the freezer for up to a year.
- Adjust processing time for altitude when canning.
| Altitude Range | Adjust Processing Time |
|---|---|
| 1,001 to 3,000 feet | Add 5 minutes |
| 3,001 to 6,000 feet | Add 10 minutes |
| 6,001 to 8,000 feet | Add 15 minutes |
| 8,001 to 10,000 feet | Add 20 minutes |
Easy Blackberry Jam Recipe
Equipment
- 1 Large pot for boiling berries (I use a 5-quart pot)
- Funnel
- Strainer (I use cheesecloth in my colander but use what you prefer)
- half-pint or pint jars (I use pints, but half-pints are what most people put jam in)
Ingredients
- 6 quarts fresh or frozen blackberries about 18-20 cups
- 2 Tablespoons ACV or Lemon juice
- 4-8 cups granulated sugar adjust to taste. I use 5 cups of sugar in mine.
- 1 packet pectin
Instructions
- Start by cleaning your berries and jars. If you’re canning, prepare your water bath.
- Add the berries to a large saucepan and turn it on medium-low heat. Since my berries were frozen, I stir them until they are soft and can be mashed.Once they are thawed, add the ACV or lemon juice and mash them. I use my stick blender because I like the fine texture it gives me, and I keep the pulp and seeds in my jam.
- If yours are fresh, use medium-low heat. Add the ACV or lemon juice and mash the blackberries. If you want to remove the seeds, use a potato masher so the seeds are large enough to be strained out.
- Simmer for 5-10 minutes.
- Seedless Option: This is optional. I Do Not remove them from my jam because we like it that way. You can use a fine mesh strainer, a colander with cheesecloth, or any strainer you have to separate the seeds from the juice.Measure out 8 cups of berry juice and add it to a large stock pot. For a traditional jam, add a couple of spoonfuls of seeds back in.
- Add Sugar to the pot with the berries (or juice if you strained them): Stir in the sugar and cook on medium-low heat until it dissolves. Add 4 cups of sugar, stir, and taste, adding one cup at a time to achieve your desired sweetness, tasting between each addition. We like a tart jam, so I add 5 cups to mine.
- Increase the heat to medium-high and bring the mixture to a rolling boil.
- Add Pectin: Once the jam is at a rolling boil, sprinkle the pectin over the top of the jam and still well. Boil for one minute and check the jam to see if it’s ready.
- No Pectin Option: If you prefer a pectin-free jam, blackberries’ natural pectin will do the job. Cook the mixture until it reaches 221°F, then do the jam test to ensure it’s set.
- Jam Test: Use a spoon to drop a small amount of jam onto a small, cold plate. Let it sit for a minute, then run your finger through the jam. If it holds its shape and doesn’t run, your jam is ready. If it’s too runny, boil it one minute longer and test again. Repeat until the jam is ready to set. This simple test ensures your jam has the right consistency before you jar it up.
- Pour into Jars: Use a funnel to pour the hot jam into prepared jars.
- Wipe the mouth of each jar clean, then put the lids and rings on the jars.
Preserving Your Jam:
- Canning: Process in a boiling water bath for 10 minutes. Use a jar lifter to add the jars to the water bath canner and to remove them. They are HOT, so use caution.Place the hot jars on a heat-proof surface—I use an old bath towel—and let them sit for 24 hours to seal properly.
- Check the seals before storing the jam jars in a cool, dry place for up to a year.
- I have used jam that was three years old and it was still delicious. The nutritional value falls after one year, but not the flavor. Use your good judgment when you open a jar.
- Freezing: Let the jam cool in the jars at room temperature for 24 hours, then store it in the refrigerator for up to a month or in the freezer for up to a year.
- Adjust processing time for altitude when canning using teh altitude chart in the post.
Notes
- Blackberries: Fresh or slightly under-ripe work best. If using frozen berries, thaw them first.
- Sugar: Essential for thickening the jam. The pectin I use works great for low-sugar options, or you can use a no-sugar pectin.
- Pectin: This helps to thicken the jam, though you can also make a pectin-free version. Blackberries have a lot of pectin, so you don’t have to use it. However, you will have to cook the jam longer, so I usually use about half a pack of pectin in each batch. This makes a little thinner jam, just so you know. This is my all-time favorite pectin.
- Apple Cider Vinegar or Lemon Juice: I use ACV (Fairchild’s is the brand we use but you can try other ACV brand’s like this one). You can use bottled or fresh lemon juice. Either of these adds the perfect hint of tartness.
Nutrition
You May Also Enjoy


Wrap UP
My homemade blackberry jam recipe is a great way to keep the taste of summer all year long. With just a bit of time and a few simple ingredients, you can create a delicious preserve that’s perfect for spreading on toast or incorporating into your favorite recipes.
Be sure to adjust the processing time according to your altitude to ensure your jam sets perfectly. Whether you’re making large batches from frozen berries or preparing small batches as you harvest, this blackberry jam recipe will help you enjoy that summer flavor throughout the year. Happy jamming!