You know, we often think of drying herbs when we want to preserve them, and that works well. But I’ve found that freezing herbs is one of the easiest and most reliable ways to do just that, and honestly, sometimes I think they taste even better than dried ones.
Plus, you don’t have to worry about mold or bugs getting into your frozen herbs, which is always a relief.
What I love most about frozen herbs is how much they taste like fresh herbs in recipes. It’s like having a little bit of summer on hand, even in the middle of winter. And you don’t even need to thaw them before using them, unless you’re adding them to something raw, like a salad.
So, let’s talk about some easy ways to freeze those herbs.
In This Post
Why Freezing Herbs Is a Homesteader’s Best Friend
Most of us love growing our own herbs, but once the cool weather sets in, we hate to see all that goodness go to waste. Drying is great for some things (check out the video below to learn about food dehydration), but freezing herbs keeps more of their color and flavor intact. Plus, it’s quick, easy, and doesn’t require any special tools—just your freezer and a little planning.
When you freeze herbs the right way, they’re ready whenever you need a pinch of summer in your soups, stews, or roasts. It’s a small step toward making your kitchen more self-reliant and your meals more flavorful all year.

Getting Started: What You’ll Need for Freezing Herbs
Before we look into the how-to, here’s a short list of what you’ll need:
- Fresh herbs (picked in the morning for best flavor)
- Clean water for rinsing
- Towels or paper towels for drying
- Ice cube trays or small freezer-safe bags
- A bit of olive oil (optional)
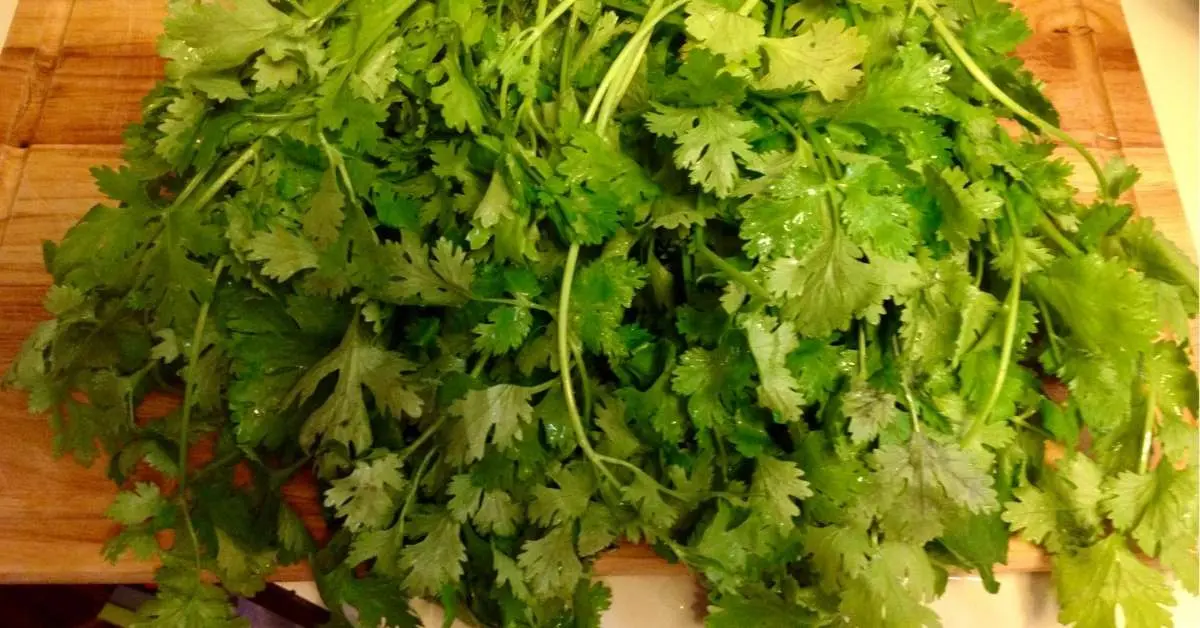
Most herbs freeze well—basil, cilantro, parsley, chives, mint, dill, oregano, rosemary, and thyme are favorites in our house. Leafy herbs like basil and cilantro do especially well when frozen in oil, while woody herbs like thyme can be frozen just as they are.

Simple Steps for Freezing Herbs
While there is always a learning curve when doing a new garden-to-kitchen chore, freezing herbs is really an easy one. One of those satisfying chores that usually goes smoothly! Here’s how:
- Harvest at the Right Time
When you harvest your herbs is just as important as how you freeze them. The best time to cut them is when they’re at their peak, before they start to wilt or flower. Pick herbs in the morning after the dew has dried but before the sun is high. That’s when they have the best flavor. Use sharp scissors to avoid crushing the stems. - Clean and Dry Your Herbs
Rinse gently in cool water to remove dirt or bugs. Pat them dry carefully. Water left on the leaves can cause freezer burn. - Prep the Herbs
- For leafy herbs like basil or parsley, chop them finely if you like.
- For hardy herbs like rosemary or thyme that have woody, tough stems, you can freeze the whole sprigs with the stems on.
- For leafy herbs like basil or parsley, chop them finely if you like.
- Choose Your Freezing Method
- Dry Freeze: Spread herbs out on a baking sheet and freeze until solid. Then transfer to a labeled freezer bag.
- Oil Freeze: Place chopped herbs into ice cube trays, cover with olive oil, and freeze. Once frozen, pop out the cubes and store in a freezer bag. It’s so handy to just drop a cube or two into soups and stews. It adds a burst of fresh flavor without any fuss.
- Ziplock Bag Freeze: One of the easiest ways to freeze herbs is to simply put whole sprigs into a zip-top bag. Lay them in a single layer, suck out the air with a straw, and seal it up. Or, you can layer the sprigs between pieces of wax paper. This works great for herbs where you use both the leaves and the stems, like parsley. When you’re ready to use them, just break off a piece and chop it up. I find this method so quick and convenient.
- Dry Freeze: Spread herbs out on a baking sheet and freeze until solid. Then transfer to a labeled freezer bag.
- Label and Store
- Always label your bags or containers with the herb’s name and date. Trust me—six months from now, you’ll be glad you did!
- Always label your bags or containers with the herb’s name and date. Trust me—six months from now, you’ll be glad you did!
Tips for Freezing Herbs
- Don’t Overcrowd: Spread herbs out so they freeze quickly and don’t clump together.
- No Need to Blanch: Unlike vegetables, herbs don’t need blanching before freezing.
- Use Within Six Months: For the best flavor, use frozen herbs within half a year.
- Think Ahead: Freeze herbs in the portion sizes you’ll use most often—like one tablespoon or one sprig per cube.

To Wash or Not to Wash: A Matter of Preference
Now, here’s a question I get asked a lot: Do you need to wash your herbs before freezing them? If you’ve grown them in a greenhouse, on your porch, or in your garden without any chemicals, you might not have to. Some folks say washing can actually affect the flavor.
But if you’ve gathered your herbs from an area where spraying might have occurred, it’s best to rinse them well and pat them dry. And even if your herbs are chemical-free, a quick swish in water and a pat dry can remove any dirt or insects. You can also blanch them briefly by dipping them in boiling water for a few seconds, just until their color brightens.
By freezing herbs, you’re bottling up a piece of summer sunshine to brighten your meals when the garden beds are sleeping under snow. That fresh herb scent adds some magic to a comfort food meal on a quiet winter’s night.
A Few Old-Timer Reminders About Preserving Herbs
Folks who’ve been at this a while will tell you, “It’s not what you save, but how you save it that counts.” Freezing herbs is a good example. Simple care—like harvesting at the right time and drying them well—makes all the difference between ho-hum frozen herbs and ones that burst with flavor when you use them.
And don’t be afraid to experiment. You might find you prefer freezing mint on the stem or that dill works best chopped fine. Part of sustainable living is learning what works best in your own kitchen.
Want More Practical Tips and Homestead Wisdom?
- Browse our Gardening Tips for more growing advice
- Get started with sustainable living ideas here
- Find from-scratch recipes to use your harvest
And if you haven’t yet, make sure to join our TFL Community Newsletter—it’s full of old-timey wisdom to help you make the most of your homestead, big or small.
What are your favorite herbs to freeze? Share your tips and stories in the comments—we’d love to hear how you keep your garden goodness going all year long!