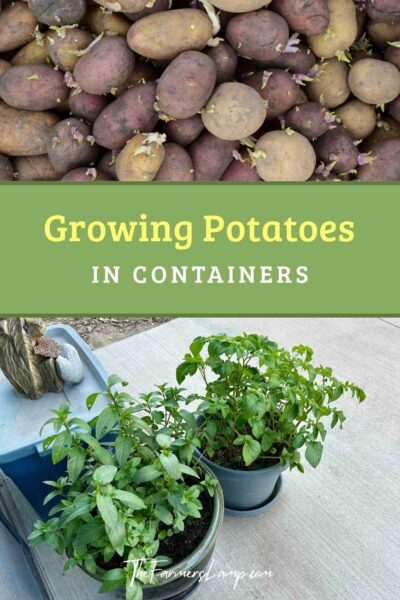
If you’ve ever stood in the grocery store staring at a five-pound bag of potatoes and thought, “I could grow these myself,” you were right. Growing potatoes in containers is one of the most satisfying beginner projects out there, and you do not need a single square foot of in-ground soil to do it.
Whether you’ve got a balcony, a patio, a stoop, or a sunny corner on a fire escape landing, a container potato garden is within reach. This guide walks you through exactly what to do, from picking the right pot to pulling your first real harvest.
- What Potatoes Need to Grow in Containers (Less Than You'd Think)
- Choosing Your Container (Size Is Everything)
- Picking Your Seed Potatoes (Skip the Grocery Store Bin)
- How to Plant and Hill Potatoes in Containers (The Step-by-Step)
- Watering and Care Through the Season (Simple and Consistent)
- Harvesting and Curing (The Part Everyone Looks Forward To)
- Common Problems and How to Fix Them
- Quick-Start Checklist for Growing Potatoes in Containers
- FAQs – Growing Potatoes in Containers
- Can I grow potatoes in containers indoors?
- How many potatoes will I get from one container?
- What is the best container for growing potatoes?
- Do I need to fertilize container potatoes?
- When should I start growing potatoes in containers?
- Can I reuse the potting mix after harvest?
- Do I need seed potatoes, or can I use ones from the store?
What Potatoes Need to Grow in Containers (Less Than You’d Think)
Potatoes are not fussy plants. They want to grow. What they need, they need consistently, and once you understand those basics, the rest falls into place.
Sunlight is the big one. Plan for 6 to 8 hours of direct sun each day. Not shade-dappled light, actual direct sun on the container. If your balcony or patio faces north and stays shady most of the day, this project will be a struggle. A south- or west-facing spot is your best bet. Rooftop access works well if you have it.
Soil matters more in containers than in the ground. You want a light, well-draining mix, not dense garden soil that packs down and holds water around the roots. A quality potting mix blended with a little compost is ideal. Potatoes sitting in waterlogged soil will rot before they ever form.
Water should keep the soil consistently moist but never soaked. During active growth, plan on roughly 1 to 2 inches of water per week. Stick your finger two inches into the soil. If it feels dry down there, it is time to water. If it still feels damp, give it another day.
Temperature is the part most beginners overlook. Potatoes are a cool-weather crop. They grow best when daytime temperatures sit between 60 and 70 degrees Fahrenheit. Once summer heat kicks in and temps climb past 80, growth slows and tuber formation stalls. This is why spring is the best time to start container potatoes, especially in warmer climates. In cooler areas, you can often get a fall crop too.
Choosing Your Container (Size Is Everything)
The container you pick sets the ceiling on what your plants can produce. Go too small and your potatoes will run out of room before they size up properly.
You want a container that holds at least 10 to 15 gallons and is at least 2 feet deep. That depth gives tubers room to develop below the stem as you hill soil up throughout the season.
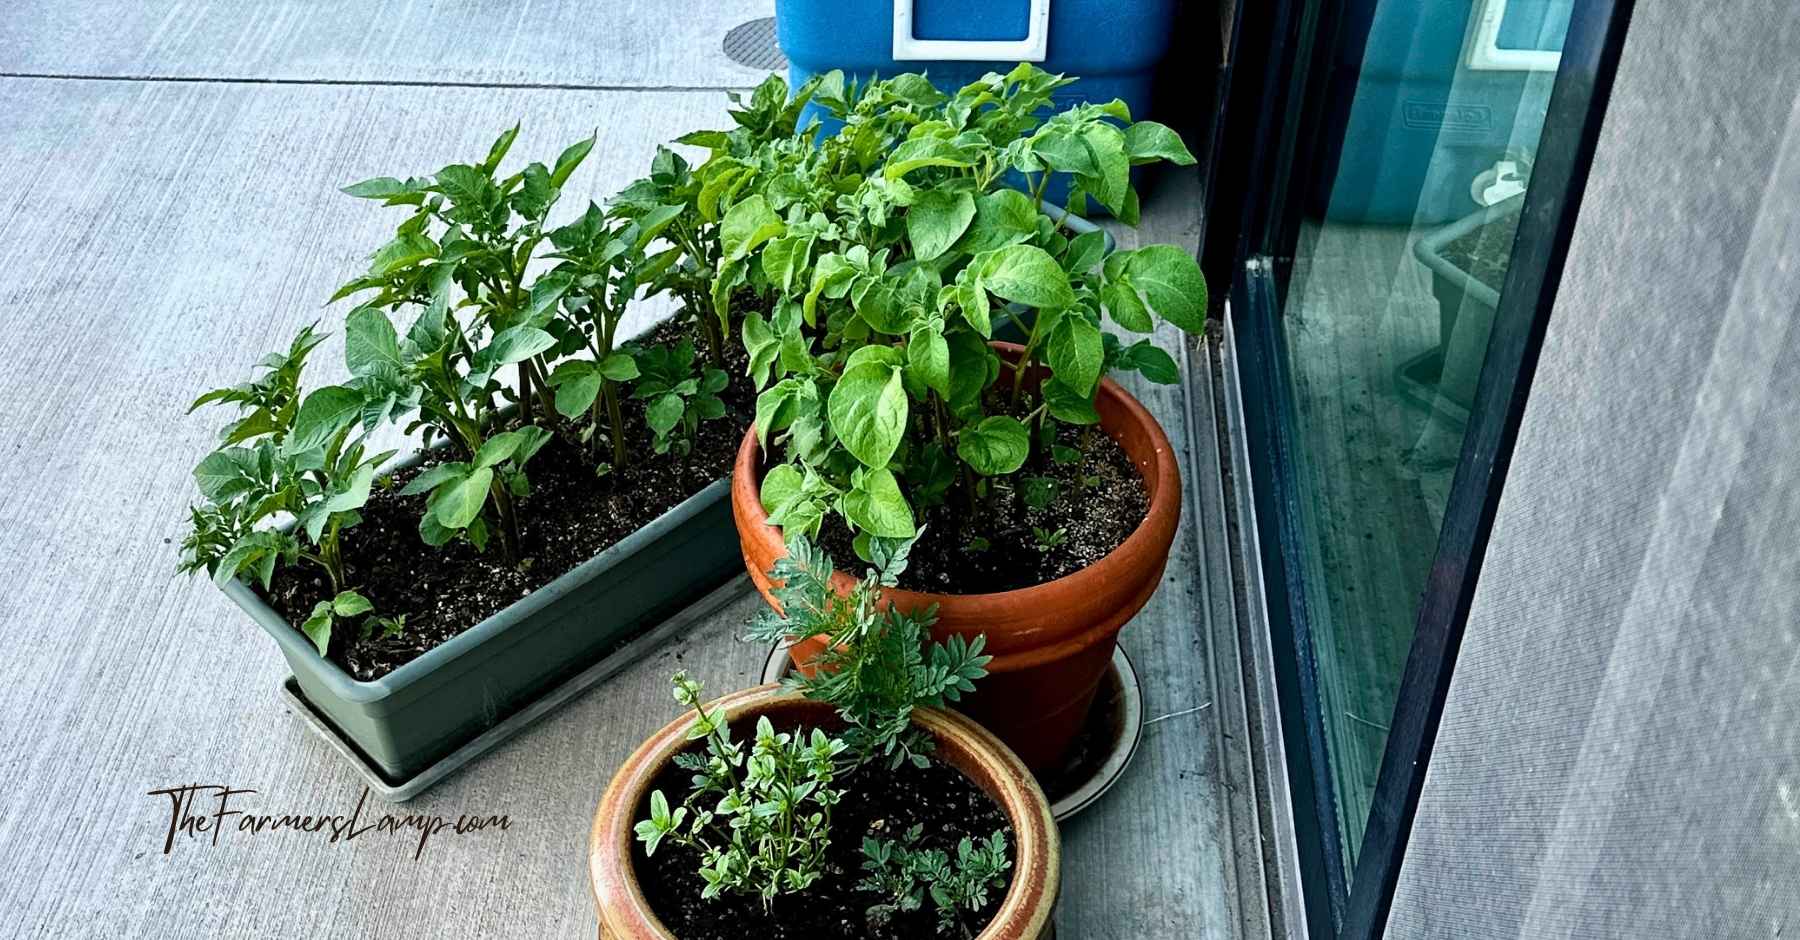
The good news is you do not need anything fancy. Options that work well include:
- Large plastic nursery pots (cheap, light, easy to move)
- Fabric grow bags (excellent drainage, good airflow to roots)
- Food-grade storage totes/buckets (drill drainage holes in the bottom)
- Half whiskey barrels (heavy but hold heat well in cool springs)
Whatever you use, drainage holes are non-negotiable. Potatoes will rot in standing water within days. If your container doesn’t have holes, add them before you plant.
Start by filling the bottom 4 to 6 inches with your potting mix. You will be adding more soil as the plants grow, so leave most of the container empty at planting time.
Picking Your Seed Potatoes (Skip the Grocery Store Bin)
You want certified seed potatoes, not the sprouting potatoes from your produce drawer. Grocery store potatoes are often treated with a sprout inhibitor, and they may carry diseases that can spread to your soil. Certified seed potatoes are grown specifically for planting and are inspected for disease. If you don’t have a local source, have a look at all the fun options at SeedsNow.
For container potato gardening, early and second-early varieties are the smartest choice. They produce faster, stay more compact, and tend to do better in the confined space of a pot.
Good varieties to look for:
- Yukon Gold (buttery flavor, reliable producer, excellent all-around)
- Fingerling (small, narrow tubers, great for roasting)
- German Butterball (creamy texture, holds up well in smaller containers)
- Rocket (fast-maturing early variety, good for spring growing)
- Charlotte (waxy, great flavor, popular for container growing in smaller spaces)
As the University of Maine Cooperative Extension confirms, certified seed potatoes produce significantly more reliable yields than grocery store tubers. It’s worth the small extra cost.
If your seed potatoes arrive with small sprouts already forming (called “eyes”), that is perfectly fine. Plant them eyes-up. Larger seed potatoes can be cut into pieces, each with at least one or two eyes, and left to dry for a day or two before planting to reduce rot risk.
If you’re stuck with grocery store varieties, Russet Burbanks have the most phytonutrients and are a great source of potassium, vitamin C, and unusually high in vitamins B2, B3, and folic acid. Source: Eating on the Wild Side by Jo Robinson, pg 99. (On of my library’s staple reference books on getting the most out of shopping at the grocery store, nutrient-wise.)
How to Plant and Hill Potatoes in Containers (The Step-by-Step)
This is where the work actually happens. Follow these steps and you will be in good shape.
- Fill your container with 4 to 6 inches of potting mix.
- Place your seed potatoes on top of the soil, eyes facing up, spaced about 12 inches apart. Most containers fit 1 to 3 seed potatoes depending on size.
- Cover with 3 to 4 inches of potting mix, burying the potatoes completely.
- Water the container thoroughly until water drains from the bottom.
- Place the container in its sunny spot.
Hilling: The Step Most Beginners Skip
Hilling is what separates a decent potato harvest from a great one. As the plant grows, new tubers form along the buried stem. The more stem you bury, the more tubers you get.
Here is how it works: once the green growth above the soil reaches 6 to 8 inches tall, add another 3 to 4 inches of potting mix around the base of the plant, covering the lower half of the stem. Leave the top leaves exposed.
Repeat this process every time the plant grows another 6 to 8 inches, continuing until soil reaches within an inch or two of the container’s rim. The plant will keep growing upward. You keep burying the stem. That buried stem keeps producing potatoes.
Watering and Care Through the Season (Simple and Consistent)
Container potato gardening requires a bit more attention to watering than in-ground growing because pots dry out faster. A few habits make this easy to manage.
Check soil moisture every day or two, especially during warm weather. Water deeply when the top 2 inches feel dry. Always water until it runs out the drainage holes; shallow watering encourages shallow roots.
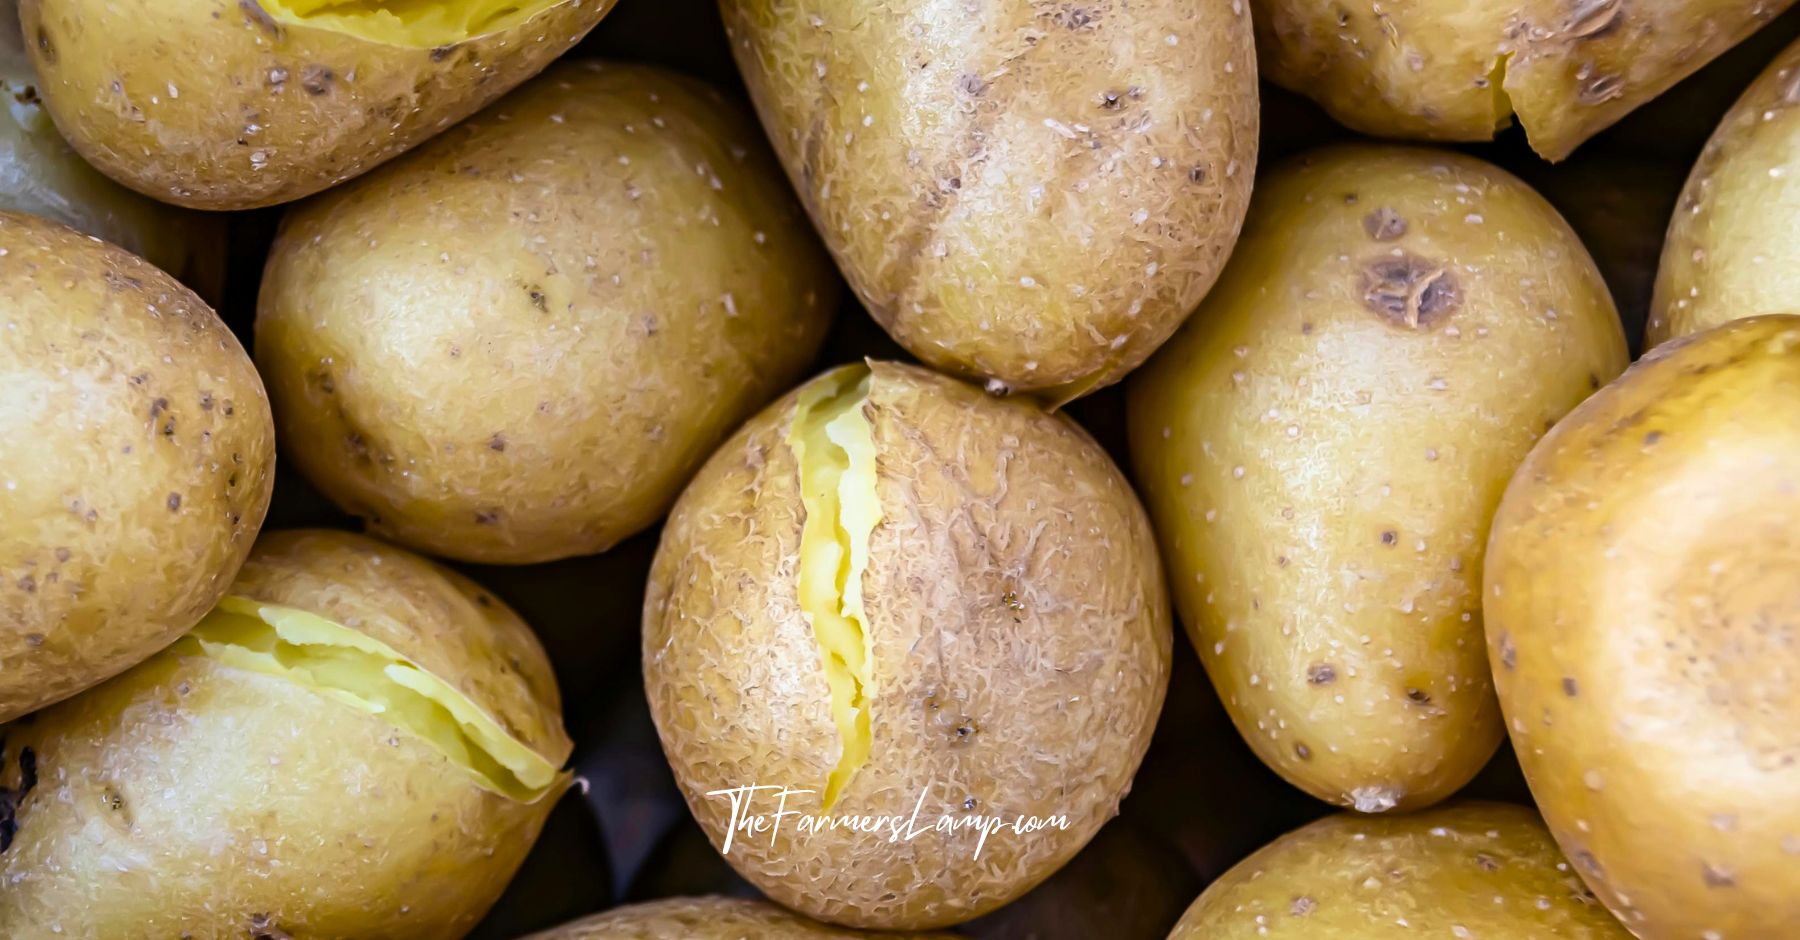
Once the plant’s leaves start to yellow and die back, stop watering. That yellowing is the signal that the plant is done growing and the tubers are maturing. Watering at this point can cause them to crack or rot.
You can feed your container potatoes with a balanced organic fertilizer at planting. Once plants are actively growing, a low-nitrogen fertilizer helps push energy toward tuber production rather than leaf growth.
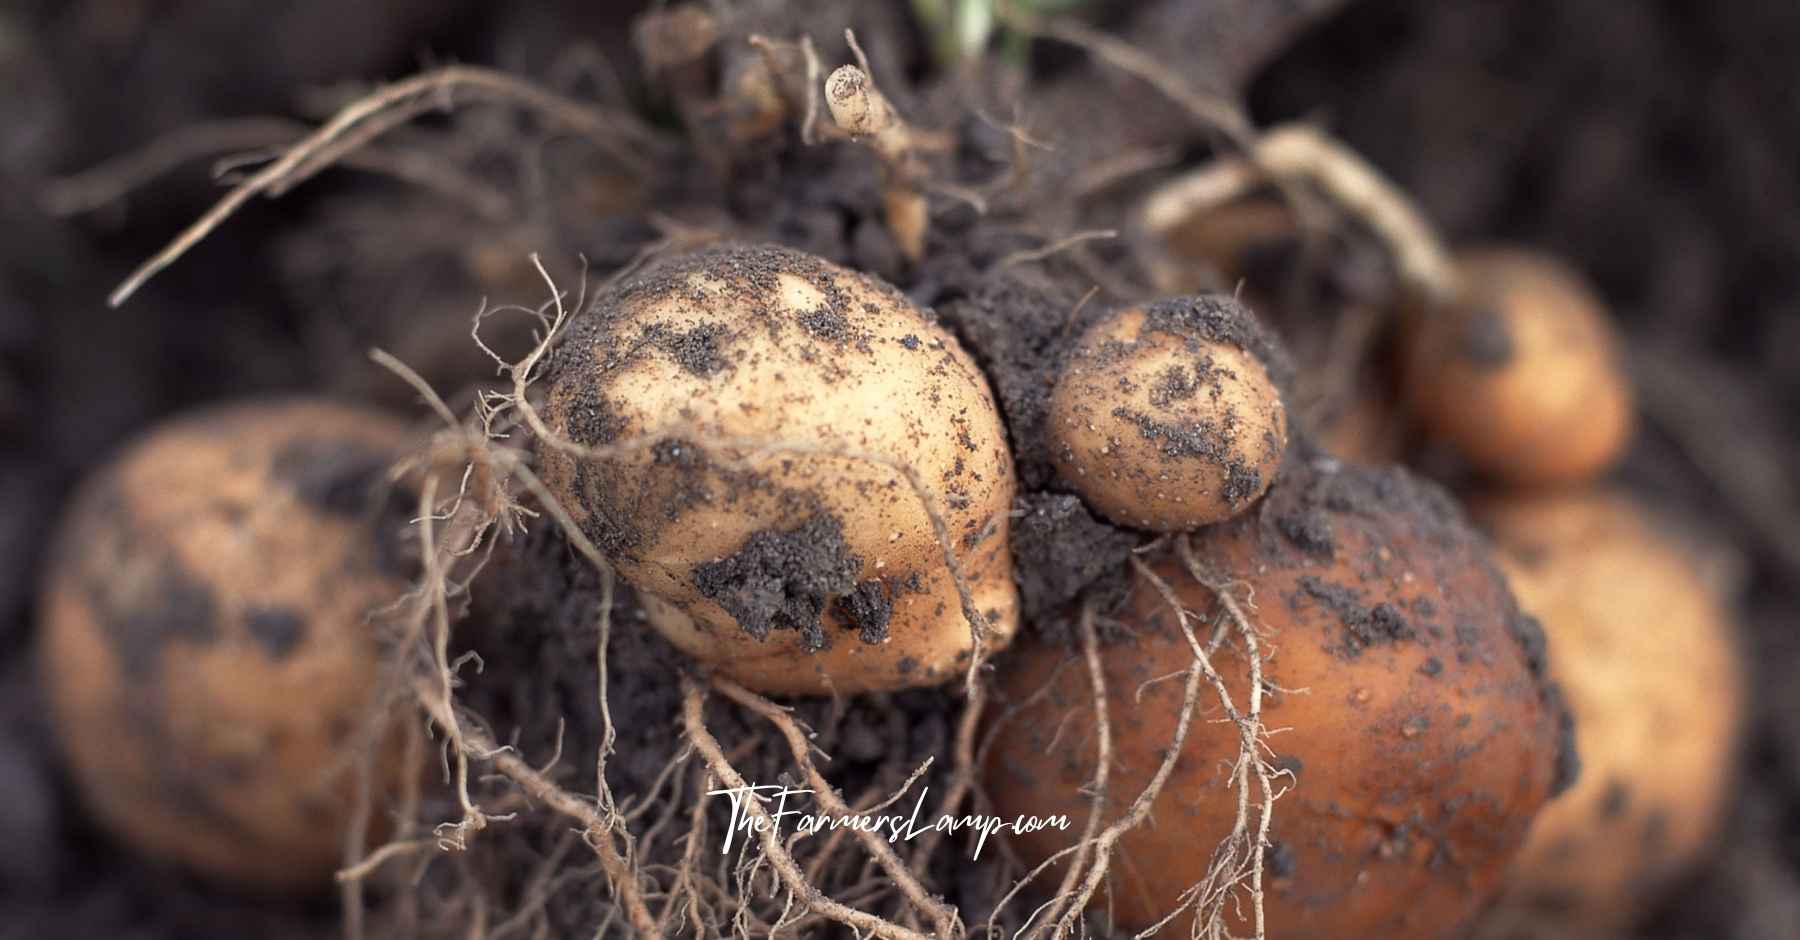
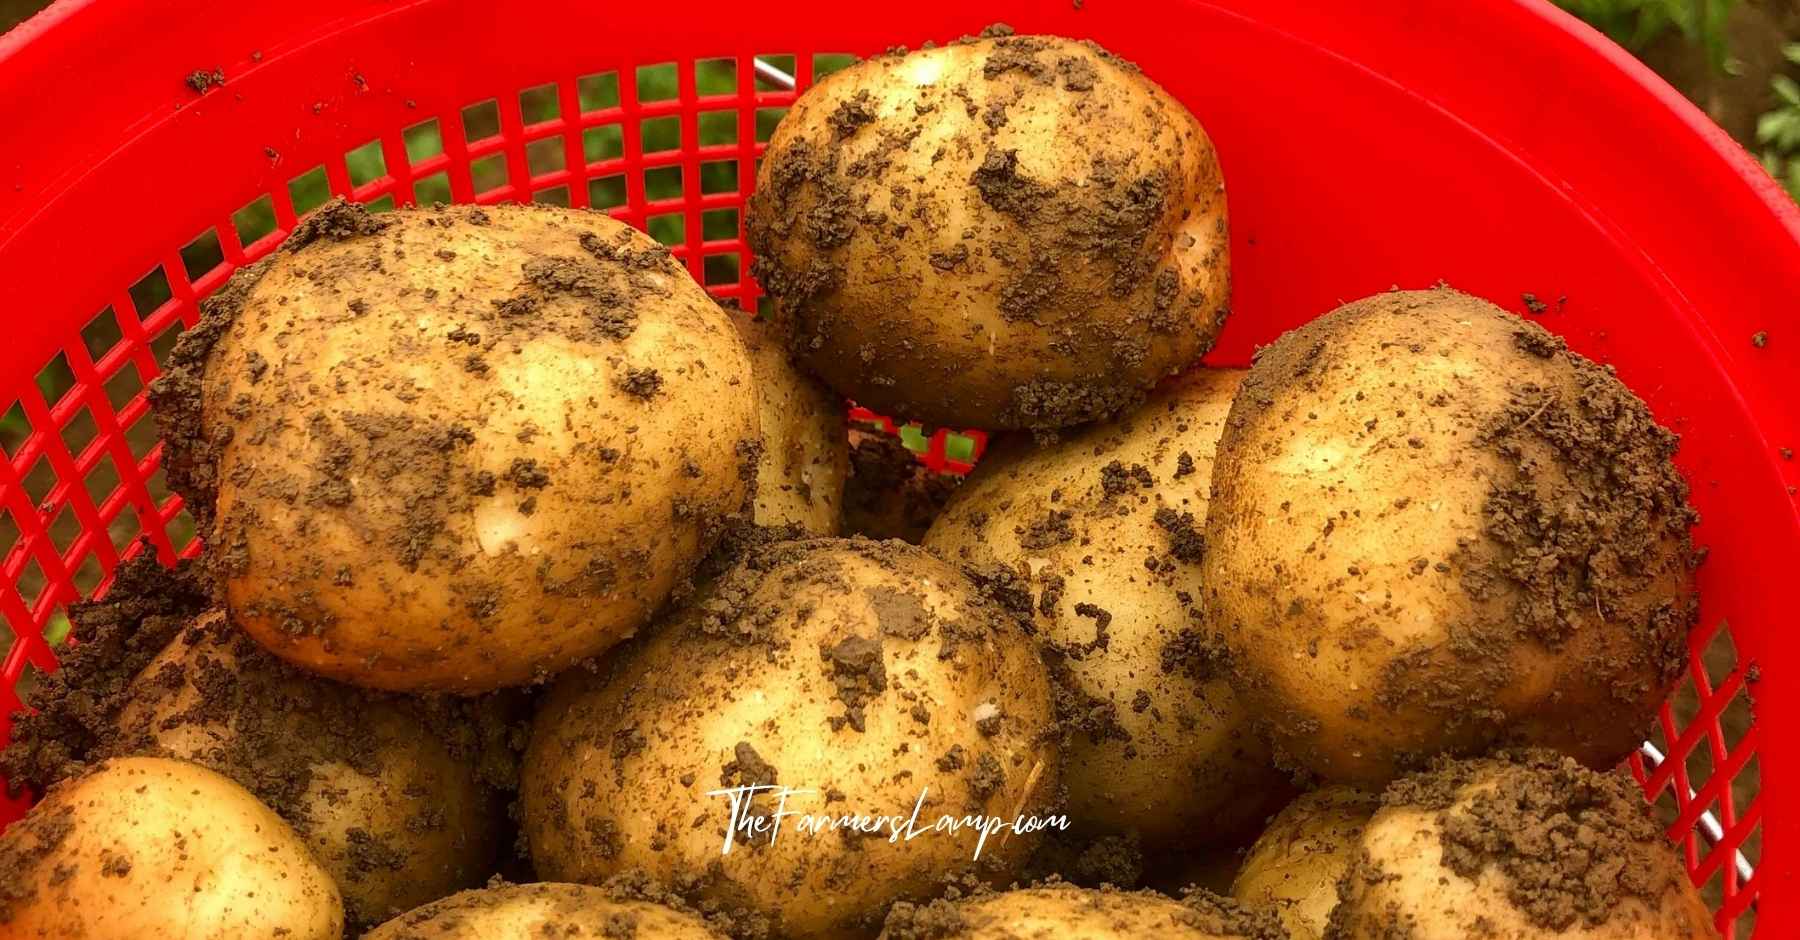
Harvesting and Curing (The Part Everyone Looks Forward To)
You will know harvest time is getting close when the plant’s foliage turns fully yellow and begins to die back. At that point, wait another week or two. Patience here pays off in bigger, better-developed tubers.
To harvest, tip the container on its side or reach in with your hands and gently dig through the soil. Do not use a fork or sharp tool; you will puncture more potatoes than you expect. Your hands are the best harvesting tool for container growing.
Once harvested, your potatoes need to cure before storage. Spread them out in a single layer in a cool, dark, well-ventilated spot (a basement, garage, or shaded porch) for 1 to 2 weeks. Curing toughens the skin and extends storage life significantly.
How Long Do They Keep?
- Early varieties (Rocket, Fingerling): eat within 2 to 3 weeks of harvest. These have thinner skins and do not store long.
- Mid and main-season varieties (Yukon Gold, German Butterball): properly cured and stored in a cool, dark spot, these keep for several months.
Common Problems and How to Fix Them
Even the simplest projects run into snags. Here are the ones that come up most often with how to grow potatoes in pots.
Yellow leaves before the plant matures: Could be overwatering, underwatering, or a nitrogen deficiency. Check your watering frequency first. If the soil has been consistently moist and drainage is good, try a balanced fertilizer.
Green potatoes: Tubers that were exposed to sunlight turn green and become bitter, and in large amounts the green flesh is not safe to eat. This happens when hilling is skipped or the container is too shallow. Keep soil hilled up and well over the tops of developing tubers.
No tubers forming: Usually means the weather got too hot too fast, or the container got too much shade. Container potatoes need that 6 to 8 hours of direct sun. Heat above 80 degrees during tuber set is the other common culprit.
Rotting before harvest: Almost always a drainage issue. Confirm your drainage holes are clear and that you are not overwatering.
Foragers: For some reason, I had the idea that deer wouldn’t eat potato leaves. I was very wrong and woke to the greens completely trimmed off on my porch taters. I highly recommend protecting your potted gold!

Quick-Start Checklist for Growing Potatoes in Containers
Before you plant, run through this list:
- Container is at least 10 to 15 gallons and 2 feet deep
- Drainage holes are in place and clear
- Light, well-draining potting mix is ready (not dense garden soil)
- Certified seed potatoes purchased (best if not grocery store)
- Planting location gets 6 to 8 hours of direct sun daily
- Spring planting timing confirmed for your climate (a few weeks past last frost)
- Extra potting mix on hand for hilling throughout the season
- Organic fertilizer ready for planting day and mid-season feeding
- Plan in place to stop watering once foliage begins to yellow
- Curing space identified (cool, dark, ventilated) for post-harvest
FAQs – Growing Potatoes in Containers
—
Can I grow potatoes in containers indoors?
Potatoes need direct sunlight, and most indoor spaces cannot provide the 6 to 8 hours of direct sunlight required. A sunny south-facing window might get you close, but results will be limited. A grow light set to run 14 to 16 hours daily can supplement, but most indoor growers find it more practical to move the container outside once temperatures allow.
How many potatoes will I get from one container?
It depends on the container size, variety, and how consistently you hill. A 15-gallon container with one or two seed potatoes, properly hilled throughout the season, can yield 3 to 5 pounds of potatoes. Some gardeners report more with larger containers and ideal conditions.
What is the best container for growing potatoes?
A fabric grow bag in the 15 to 20 gallon range is a popular choice because it drains well, allows air to reach roots, and is easy to tip over at harvest. Plastic nursery pots work just as well if they have good drainage. Avoid glazed ceramic pots, which hold heat and often have poor drainage.
Do I need to fertilize container potatoes?
Yes, more so than in-ground potatoes. Potting mix has limited nutrients and does not replenish itself the way garden soil can. A balanced organic fertilizer at planting, followed by a low-nitrogen fertilizer once plants are established, helps support a good harvest.
When should I start growing potatoes in containers?
Spring is the ideal time, a few weeks after your last expected frost date. In most of the U.S., that means planting between March and May, depending on your region. In warmer climates with mild falls, a second crop starting in late summer is possible.
Can I reuse the potting mix after harvest?
You can, but with some caution. If your plants stayed healthy all season, mix in fresh compost and some balanced fertilizer before reusing. If you had any disease issues (blight, rot), dispose of that soil or, at a minimum, do not reuse it for potatoes or other nightshades (tomatoes, peppers) the following season.
Do I need seed potatoes, or can I use ones from the store?
Certified seed potatoes for containers are worth the investment. Grocery store potatoes are often treated with sprout inhibitors and can carry diseases. Seed potatoes are inspected, disease-free, and bred for reliable germination. Your local farm store, garden center, or online seed supplier will have them in late winter and early spring.
—
There is something genuinely satisfying about reaching into a pot of soil and pulling out a handful of potatoes you grew yourself. It does not matter if you live on a farm or a fourth-floor walk-up. The process is the same, and the result tastes better than anything you’ll find on a grocery store shelf. Give it a go this spring. You might be surprised how quickly this becomes an annual tradition.
Want more container gardening help like this? Become a Friend of the Farmer’s Lamp for free. Join The Farmer’s Lamp newsletter to get homestead support from folks just like you, no matter the size of your yard!